
Blueberry Pierogi Recipe
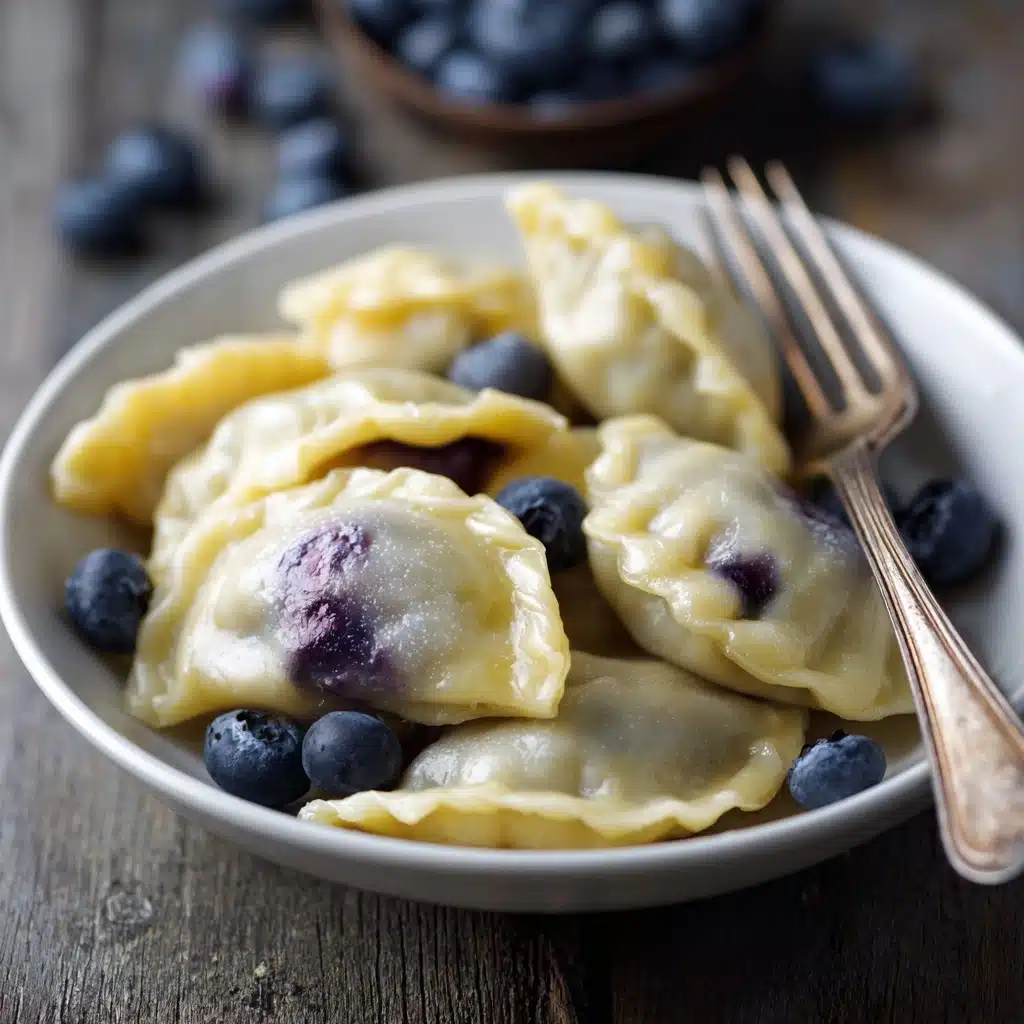
If you’ve never experienced the joy of biting into a pillowy dumpling stuffed with juicy berries, the Blueberry Pierogi Recipe is about to win you over. Originating from Eastern Europe but embraced by food lovers everywhere, these delicately sweet dumplings are a celebration of tart blueberries, creamy dough, and just the right kiss of sugar. It’s a dessert (or breakfast!) that feels nostalgic even if you’ve never had it before. The recipe is special because it transforms humble ingredients into something memorable, and every bite gives you the perfect blend of tender dough, bursting fruit, and melty sweetness. This is the kind of dish you’ll crave as soon as blueberry season rolls around—or any time you want a taste of homemade comfort.

Ingredients You’ll Need
There’s something magical about how these simple ingredients come together to create such a delightful treat. Every item on this list plays a starring role, from the tender, elastic dough to the juicy berries that make this Blueberry Pierogi Recipe unforgettable.
- Warm water: A gentle start for the dough, ensuring it comes together smoothly and stays supple for easy rolling.
- Buttermilk: Lends a subtle tang and tenderizes the dough, making it beautifully soft and rich.
- Sour cream: Adds a touch of creaminess and depth to the dough, making it even more irresistible.
- Large egg: Binds the dough and gives it that delicate, golden color while keeping it tender.
- Salt: Don’t skip it—a bit of salt brings out all the flavors and balances the sweetness.
- All-purpose (unbleached) flour: The foundation for dough that’s both strong and soft, perfect for encapsulating all those luscious berries.
- Blueberries: The absolute heart of this Blueberry Pierogi Recipe—the fresher and plumper, the better!
- Sugar (plus extra to sprinkle on top): Sweetens the filling just right and makes a lovely syrupy finish after cooking.
How to Make Blueberry Pierogi Recipe
Step 1: Mixing the Dough
Combine warm water, buttermilk, sour cream, egg, and salt in the bowl of your mixer and whisk just until blended. While you can absolutely mix the dough by hand, the mixer makes things wonderfully easy and ensures everything comes together without a fuss.
Step 2: Incorporating the Flour
Fit your mixer with the dough hook and add 2 cups of flour. Mix on speed 2 until the flour is incorporated, then continue adding the remaining flour in 1/2 cup increments, letting each addition mix in before adding more. When you get down to your last bit of flour, add it in 1-tablespoon scoops until the dough is soft, elastic, and just barely sticky—sticking to itself, not your fingers. Let your dough hook knead it on speed 2 for 15 minutes to develop that wonderful texture.
Step 3: Rolling Out the Dough
Generously flour your work surface and divide the dough in half to make it manageable. Roll each half into a thin disk, around 1/8″ thick. Flip the dough over once or twice as you roll to keep it from sticking and to ensure an even thickness.
Step 4: Cutting and Filling
Use a drinking glass or a 3-inch cookie cutter to cut the dough into circles—the perfect size for a classic pierogi. Take a dough round into your hand, stickier side up, add half a teaspoon of sugar, and then nestle in five plump blueberries. Bring the edges together, pinching tightly to seal the pierogi and keep that glorious filling inside. Make sure there’s no sugar on the edges for a strong seal.
Step 5: Repeat and Finish
Gather up the dough scraps, blend them into your remaining dough, and repeat the rolling, cutting, and filling process until you’ve used up every bit. You’ll end up with a batch of future favorite pierogi lined up and ready for their moment in the pot.
Step 6: Boiling the Pierogi
Bring a large pot of water to a rolling boil and add salt. Carefully lower your pierogi in, a few at a time to avoid any splashing (especially when you’re excited to get them in the water!). As soon as each pierogi floats to the top, let it cook for another 1.5 to 2 minutes, then lift it out with a slotted spoon and let it drain in a colander.
Step 7: Sweet Finishing Touch
When layering your steaming hot pierogi on a serving plate, be sure to sprinkle extra sugar between the layers. The heat melts the sugar into a delicate syrup that hugs each dumpling, making the Blueberry Pierogi Recipe as luscious as can be. These are absolute heaven served warm and fresh from the pot!
How to Serve Blueberry Pierogi Recipe
Garnishes
Don’t underestimate the magic of a final flourish. A dusting of powdered sugar or a dollop of cold sour cream brings the perfect contrast to the warm, syrupy pierogi. Fresh mint, a curl of lemon zest, or even a scoop of vanilla ice cream will turn your Blueberry Pierogi Recipe into a showstopper.
Side Dishes
If you’re serving pierogi as part of a brunch or festive meal, add side dishes that complement the bright berry flavor without stealing the show. Lightly sweetened whipped cream, a fruit salad with fresh berries, or a dish of yogurt all pair delightfully well. For something heartier, try them alongside scrambled eggs or a tangy salad to balance the sweetness.
Creative Ways to Present
Turn your Blueberry Pierogi Recipe into a centerpiece! Arrange the pierogi in a pretty spiral on a platter, alternating with springs of mint or edible flowers. Skewer mini pierogi for a finger-food dessert. Or create a pierogi “tower” by layering with whipped cream and berries for a playful twist on a berry trifle.
Make Ahead and Storage
Storing Leftovers
If you manage to have leftovers (it’s a challenge!), keep pierogi in an airtight container in the fridge. Layer them with parchment or wax paper if stacking to prevent sticking—and don’t forget a sprinkle of sugar to maintain their signature syrupy gloss.
Freezing
The Blueberry Pierogi Recipe freezes beautifully. Arrange uncooked pierogi in a single layer on a baking sheet and freeze until firm, then pop them in a freezer bag. They’ll keep for up to three months and go straight from freezer to boiling water for spontaneous pierogi cravings.
Reheating
To reheat, gently steam or re-boil leftover pierogi until warmed through (just a couple of minutes does the trick). For a different twist, pan-fry them in a bit of butter until golden and crispy outside—an irresistible option that brings a whole new dimension to their flavor and texture.
FAQs
Can I use frozen blueberries for this recipe?
Absolutely! While fresh berries give the juiciest burst, frozen blueberries work perfectly in a pinch. No need to thaw—just fill and cook as usual; they may tint your dough a delightful purple.
Why is my pierogi dough too sticky or too dry?
If your dough feels sticky, add flour just a tablespoon at a time until it’s soft and elastic but doesn’t cling to your fingers. If it’s dry, sprinkle a bit of warm water and knead until you reach the right texture—humidity and flour type can make a big difference!
Can I make the dough ahead of time?
Yes, you can! Wrap the dough tightly in plastic wrap and refrigerate for up to a day. Let it come to room temperature before rolling for best results—the Blueberry Pierogi Recipe dough is very forgiving.
Do I have to use buttermilk and sour cream?
The buttermilk and sour cream give the dough a wonderful tang and tenderness, but if you need to substitute, plain yogurt or even milk will work. The flavor will change slightly, but the pierogi will still be delicious.
What’s the best way to seal pierogi so they don’t open while boiling?
Pinching the dough firmly and making sure there’s no sugar or filling on the edges is key. Wetting the edges lightly with water before sealing can help, too. A tight seal is your insurance policy for perfect pierogi!
Final Thoughts
There’s a certain charm in making (and eating!) a batch of Blueberry Pierogi Recipe—they’re equal parts comforting tradition and juicy fun. If you’ve been searching for something special to share around your table, this is your sign to tie on an apron and get rolling. You’ll be so glad you did!
Print
Blueberry Pierogi Recipe
- Total Time: 45 minutes
- Yield: About 24 pierogi 1x
- Diet: Vegetarian
Description
Enjoy the delightful combination of sweet blueberries and tender dough in these homemade Blueberry Pierogi. A perfect balance of flavors, these pierogi are a comforting treat that will impress your family and friends.
Ingredients
Dough:
- 1 cup warm water
- 1/3 cup buttermilk
- 1/2 Tbsp sour cream
- 1 large egg
- 1 tsp salt
- 4 cups all-purpose (unbleached) flour
Filling:
- 1 lb blueberries
- 1/3 cup sugar, plus more for sprinkling
Instructions
- Prepare the Dough: In a mixer, combine warm water, buttermilk, sour cream, egg, and salt. Slowly add flour until a soft, elastic dough forms. Knead for 15 minutes.
- Roll Out the Dough: Divide the dough, roll it thin, and cut into circles.
- Fill the Pierogi: Place sugar and blueberries on each circle, fold, and seal.
- Cook the Pierogi: Boil in salted water until they float, then drain.
- Finish and Serve: Drizzle sugar between layers, and serve warm with sour cream.
Notes
- For a variation, you can also sauté the pierogi in butter after boiling for a crispy texture.
- These pierogi freeze well; just boil and then freeze in a single layer on a baking sheet before transferring to a freezer bag.
- Prep Time: 30 minutes
- Cook Time: 15 minutes
- Category: Dessert
- Method: Boiling, Baking
- Cuisine: Polish
Nutrition
- Serving Size: 1 pierogi
- Calories: 120
- Sugar: 5g
- Sodium: 150mg
- Fat: 1g
- Saturated Fat: 0.5g
- Unsaturated Fat: 0.5g
- Trans Fat: 0g
- Carbohydrates: 25g
- Fiber: 1g
- Protein: 3g
- Cholesterol: 15mg
Keywords: Blueberry Pierogi, Pierogi Recipe, Homemade Pierogi, Sweet Pierogi


