
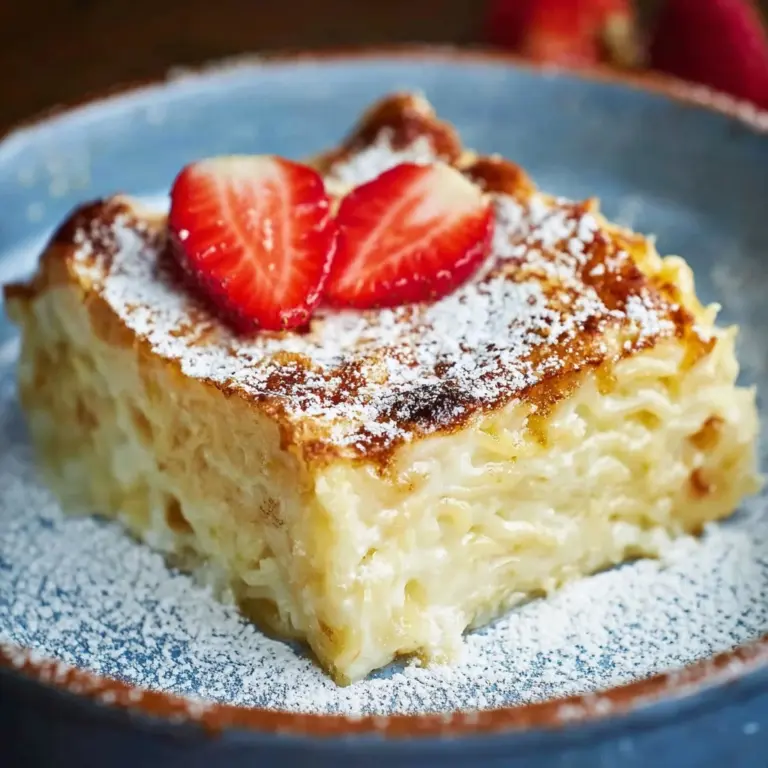
Discover an Irresistible Treat Recipe
If you’re on the hunt for a sweet, flaky, and utterly delightful pastry to brighten up your morning or impress guests at brunch, you’re in for a treat! Discover an Irresistible Treat with this homemade Cheese Danish Delight Recipe—a buttery pastry filled with smooth, tangy cream cheese and finished with a golden, delicate crunch. It’s surprisingly easy to make from scratch, and the results are so good, you’ll wonder why you ever settled for store-bought! Let’s dive in and bring some bakery magic to your own kitchen.

Ingredients You’ll Need
What makes this Cheese Danish so unforgettable? It’s the glorious combination of a few simple ingredients that come together like magic! Each ingredient pulls its weight in flavor and texture, turning humble pantry staples into an extraordinary dessert. Here’s what you’ll need and why they matter:
- All-purpose flour: The backbone of your dough, it provides structure and that tender crumb we all love in Danish pastries.
- Granulated sugar: Just a touch for gentle sweetness without overpowering the creamy filling.
- Salt: Enhances flavor and balances the sweetness perfectly—it’s a must in any good pastry!
- Unsalted butter, cold and cubed: This is the secret to flaky layers, so keep it cold and handle it gently.
- Cream cheese, softened: The heart of your filling—rich, tangy, and oh-so-smooth.
- Powdered sugar: Melts beautifully into the filling for a velvety, sweet texture.
- Vanilla extract: Adds beautiful aroma and warmth to your cheese mixture.
- Large egg, beaten (for egg wash): Gives your Danish that signature glossy, golden finish.
- Milk (for egg wash): A splash makes the egg wash even silkier, ensuring a burnished bake.
How to Make Discover an Irresistible Treat
Step 1: Prepare Your Dough Base
In a large bowl, whisk together your flour, granulated sugar, and salt to marry those dry ingredients. Next, work in the cold, cubed butter with a pastry cutter or just your fingertips. The trick is to break down the butter until it resembles coarse crumbs—this is what gives our Danish its famous flaky layers. Take your time, and don’t be afraid to get your hands in there!
Step 2: Bring the Dough Together
Now, slowly add 1/4 cup of cold water, mixing just until everything comes together into a shaggy dough. Don’t overwork it; you want tender, not tough! Shape into a disk, wrap it up tight in plastic, and refrigerate for at least 1 hour. Chilling is non-negotiable; it keeps that butter perfect and guarantees a flaky result when you bake.
Step 3: Set Up to Bake
Preheat your oven to 400°F (200°C) while your dough chills. Line a baking sheet with parchment paper for easy cleanup and to keep your pastries from sticking. This step sets the stage for our star treat!
Step 4: Roll Out and Portion the Dough
On a lightly floured surface, roll out that beautiful dough into a rectangle about 1/4 inch thick. Then, with a sharp knife or a pizza cutter, slice it into even 4×4 inch squares—these become the perfect pockets for our decadent filling.
Step 5: Mix Up the Filling
In a medium bowl, combine your softened cream cheese with powdered sugar and vanilla extract. Stir until silky smooth. This luxurious filling is what transforms your pastry into something bakery-worthy, so take a moment to mix until completely lump-free.
Step 6: Fill and Shape Your Danish
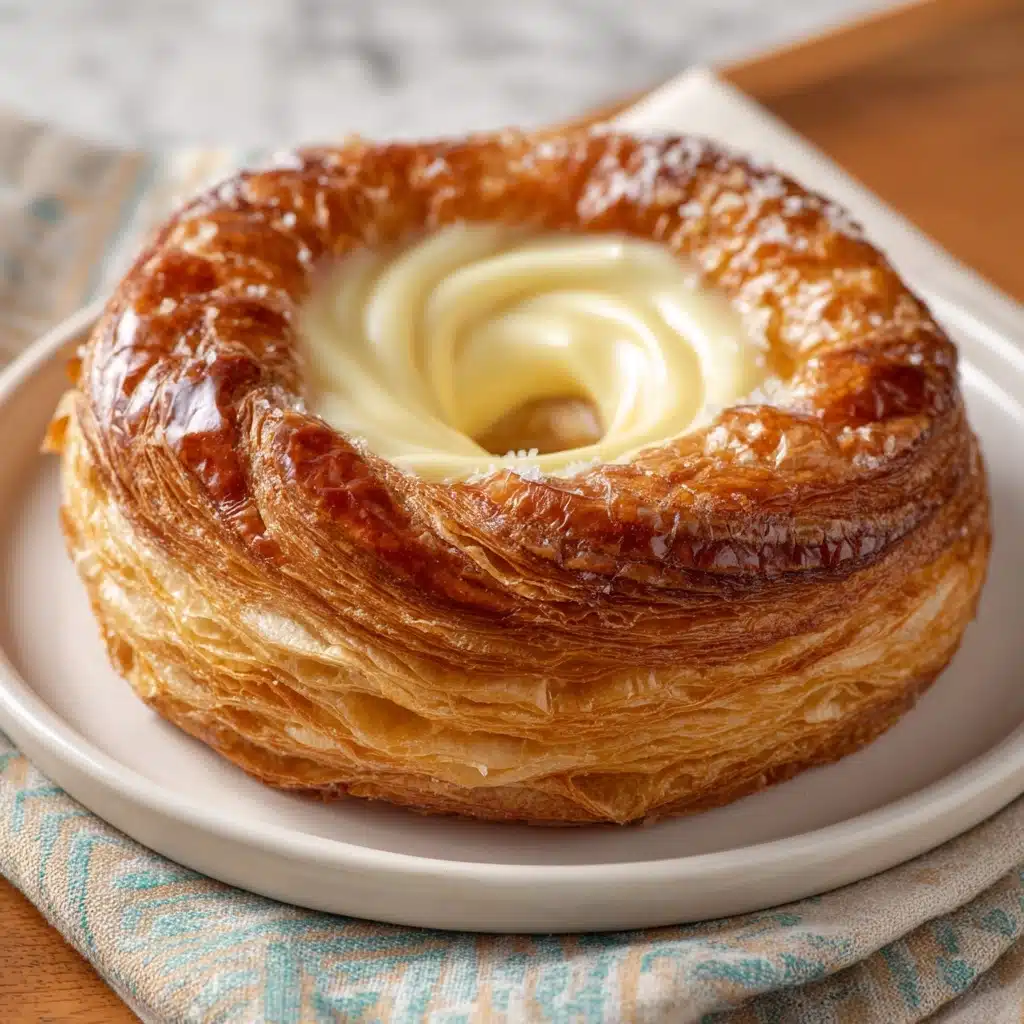
Now for the fun part! Place a generous tablespoon of the cream cheese mixture right in the center of each dough square. Bring the corners into the center to form those classic Danish pockets, pinching gently to seal. This not only creates an adorable presentation, but also ensures each bite is filled with luscious creaminess.
Step 7: Egg Wash for Shine
In a small bowl, whisk together the beaten egg and milk for your egg wash. Brush it lovingly over the pastries—this step guarantees a gorgeous golden finish that will have everyone eager to take a bite.
Step 8: Bake to Golden Perfection
Transfer your pastries to the prepared baking sheet and slide them into your hot oven. Bake for 15-20 minutes, or until the tops are beautifully golden and the pastry is puffed and crisp. Let them cool just slightly before serving; the aroma will be impossible to resist!
How to Serve Discover an Irresistible Treat
Garnishes
A sprinkle of powdered sugar is all you need for that dreamy bakery look, but you can also drizzle with a quick glaze (just whisk together powdered sugar and milk) for added sweetness. Fresh berries or a few curls of lemon zest also make each Danish look and taste even more special. This finishing touch turns every Cheese Danish into a showstopper!
Side Dishes
Pair your Cheese Danish with strong, piping-hot coffee or a delicate herbal tea for a truly comforting breakfast or snack. Fresh fruit salad or a light yogurt parfait balances the richness and keeps your spread feeling fresh and inviting. The contrast of flavors elevates your experience from simple treat to elegant brunch!
Creative Ways to Present
Line your Danishes on a rustic wooden board alongside mini bowls of jams and honey, or stack them artfully on a tiered cake stand for a party-ready display. Embrace the playful side by cutting them into mini bites for dessert platters, or even box them up as heartfelt homemade gifts. However you serve them, your guests will instantly discover an irresistible treat right at your table!
Make Ahead and Storage
Storing Leftovers
If you somehow have leftovers, store your Cheese Danish in an airtight container at room temperature for up to one day, or refrigerate for up to three days. Let them come to room temperature before enjoying, as this brings back their signature softness and flavor.
Freezing
You can absolutely freeze your Danish for longer storage! Once they’ve cooled completely, wrap each pastry tightly in plastic wrap, then pop them in a freezer-safe bag or container. They’ll keep well for up to two months, so you’ll always have a sweet surprise ready to go.
Reheating
To recapture that just-baked magic, reheat your Danish in a 300°F (150°C) oven for 8-10 minutes, or until warmed through. Avoid the microwave if you can—it tends to make pastries soggy rather than crisp. Trust me, a quick trip to the oven is worth it for that fresh, bakery-style bite!
FAQs
Can I use store-bought pastry dough for this recipe?
Absolutely! If you’re short on time, puff pastry or refrigerated crescent dough can be a tasty shortcut. While making the dough from scratch lets you fully discover an irresistible treat in every bite, using pre-made dough still delivers a delicious result.
Is there a way to make this Cheese Danish ahead?
Yes! You can prepare the dough and filling a day in advance. Keep them refrigerated separately, then assemble and bake when you’re ready to serve. This helps you enjoy fresh Danish without any fuss the morning of your special occasion.
Can I add fruit to the cheese filling?
Definitely! Add a spoonful of your favorite fruit preserves (like raspberry, apricot, or blueberry) right on top of the cream cheese filling before folding the dough. The sweet-tart flavor is a perfect partner, letting you discover an irresistible treat with every variation.
What if I don’t have a pastry cutter?
No worries at all! Just use your fingers to rub the cold butter into the flour mixture, or use two forks to cut it in. The goal is to keep the butter pieces small and cold for extra-flaky layers.
Can I make this recipe gluten-free?
Yes, simply substitute a good-quality gluten-free all-purpose flour blend to make your Danish gluten-free. The dough’s texture may vary slightly, but you’ll still discover an irresistible treat that everyone can enjoy.
Final Thoughts
Now you’re ready to discover an irresistible treat anytime with your homemade Cheese Danish Delight! Whether you bake them for loved ones or just because, these pastries are sure to bring smiles and plenty of requests for more. Give this recipe a try and let your kitchen fill with the sweet aroma of something truly special.
Print
Discover an Irresistible Treat Recipe
- Total Time: 1 hour 40 minutes
- Yield: 12 pastries 1x
- Diet: Vegetarian
Description
Indulge in the heavenly delight of these Cheese Danish pastries that are sure to tantalize your taste buds with their rich, creamy filling and flaky pastry layers.
Ingredients
Dough:
- 2 cups all-purpose flour
- 1 tablespoon granulated sugar
- 1 teaspoon salt
- 1 cup unsalted butter, cold and cubed
Filling:
- 1/2 cup cream cheese, softened
- 1/4 cup powdered sugar
- 1 teaspoon vanilla extract
Egg Wash:
- 1 large egg, beaten
- 1 tablespoon milk
Instructions
- Dough Preparation: In a large bowl, combine flour, sugar, and salt. Cut in cold butter until mixture resembles coarse crumbs. Add cold water gradually, mix until dough forms. Shape into a disk, chill for 1 hour.
- Assembly: Roll out dough, cut into squares. Mix cream cheese filling ingredients. Place filling in center of squares, fold corners over filling, seal.
- Baking: Brush with egg wash, bake at 400°F (200°C) for 15-20 minutes until golden brown. Cool before serving.
Notes
- You can customize the filling by adding fruit preserves or nuts.
- Ensure the butter is cold for a flaky pastry.
- Prep Time: 20 minutes
- Cook Time: 20 minutes
- Category: Pastry
- Method: Baking
- Cuisine: International
Nutrition
- Serving Size: 1 pastry
- Calories: 280
- Sugar: 7g
- Sodium: 220mg
- Fat: 18g
- Saturated Fat: 11g
- Unsaturated Fat: 5g
- Trans Fat: 0g
- Carbohydrates: 25g
- Fiber: 1g
- Protein: 4g
- Cholesterol: 70mg
Keywords: Cheese Danish, Pastry, Cream Cheese, Baking, Breakfast

