
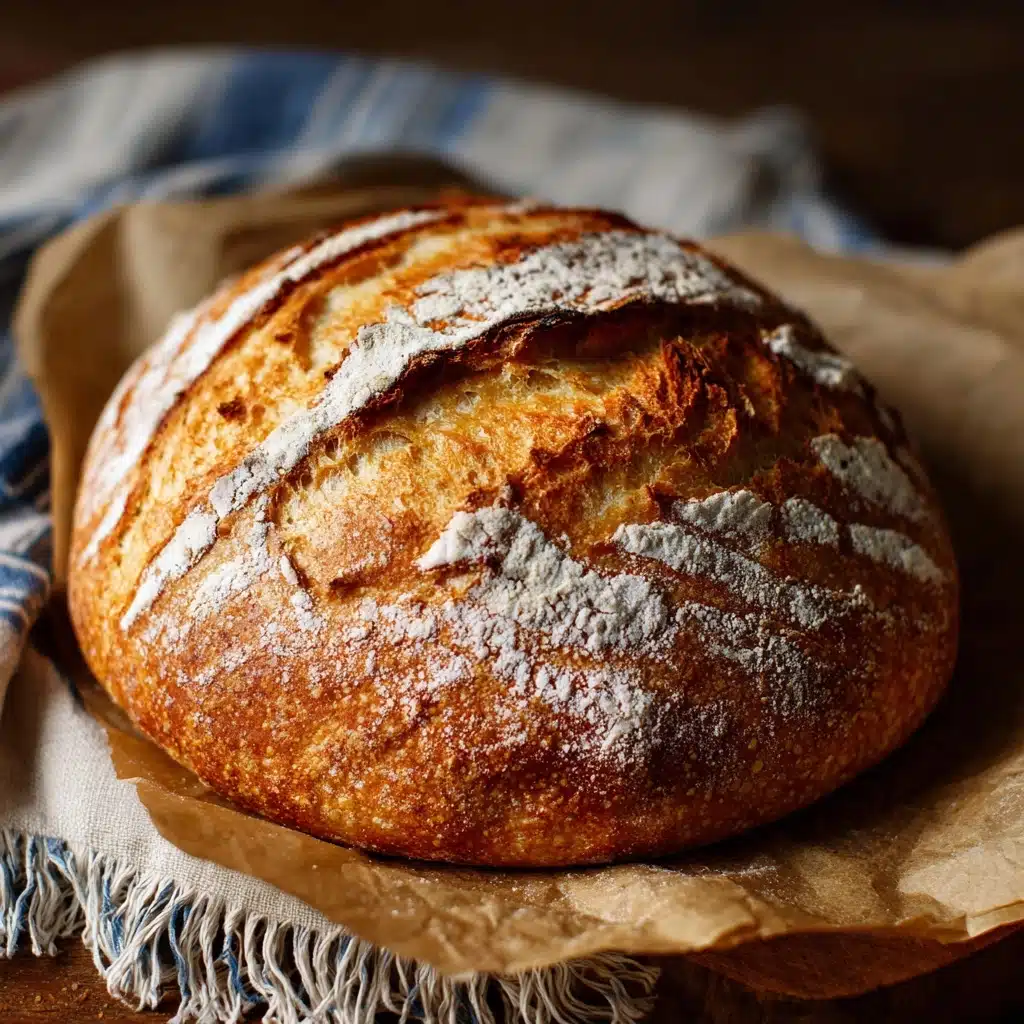
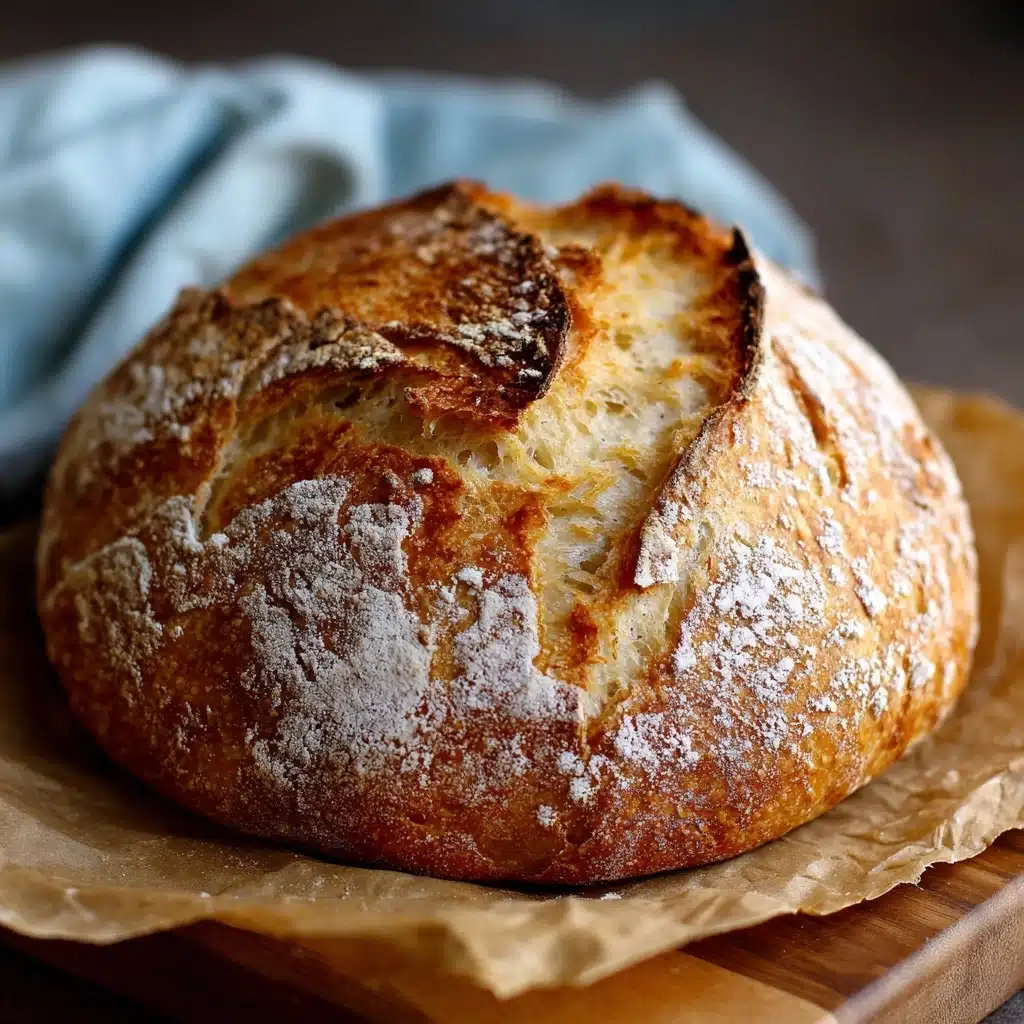
Rustic Artisan Bread Recipe
Few things bring warm, rustic comfort to your home like the smell of Rustic Artisan Bread fresh from the oven. This bread is a celebration of simple ingredients coming together to create a crusty exterior and a pillowy, chewy center—the kind of loaf that makes you proud to say, “I made this!” Whether you’re a seasoned baker or a nervous newbie, this no-fuss recipe delivers a gorgeous loaf that pairs perfectly with everything from soups to cheese boards. Get ready to fall in love with baking Rustic Artisan Bread at home!
Ingredients You’ll Need
One of the best things about Rustic Artisan Bread is its utter simplicity—just a handful of pantry staples, each playing a crucial role in flavor and texture. Don’t let the short list fool you; every item pulls more than its weight, giving you that irresistible golden crust and airy crumb.
- Flour: The foundation! All-purpose, bread, or Italian flour each leads to subtle differences in texture and taste.
- Sugar: Just a hint for a touch of sweetness and to better activate the yeast.
- Quick Rise Yeast: Helps achieve that beautiful rise fast, with no long proofing required (traditional yeast works, too!).
- Sea Salt or Coarse Salt: Adds flavor depth and enhances the bread’s overall character.
- Olive Oil: Infuses a lovely richness and keeps the loaf moist.
- Warm Water: Essential for activating yeast and hydrating the dough—adjust for your chosen flour type.
How to Make Rustic Artisan Bread
Step 1: Mix the Dry Ingredients
Begin by grabbing a large bowl and whisk together the flour, sugar, quick rise yeast, and sea salt. This ensures that the yeast and salt are evenly distributed, setting the stage for a loaf that rises evenly and tastes delicious in every bite.
Step 2: Add Water and Olive Oil
Pour in 1.5 cups of warm water and one tablespoon of olive oil. Stir everything together with a silicone spatula or a wooden spoon—the dough should look shaggy and sticky. Start with less water, especially if using bread or Italian flour, and add more as needed. You want a sticky, hydrated dough; this guarantees the signature open crumb of Rustic Artisan Bread.
Step 3: Optional—Drizzle More Olive Oil
For a tasty boost, drizzle the remaining tablespoon of olive oil over the top of your dough. You don’t need to be precise—just a quick pour is enough to lend subtle richness as the dough rises.
Step 4: Cover and Let It Rise
Cover your bowl tightly with plastic wrap, then drape a tea towel over the top. Place it in a warm spot (the oven with the light on is perfect) and let the magic happen. In about 2 hours, your dough will look puffed and doubled in size. That’s when you know it’s ready to bake!
Step 5: Preheat Your Dutch Oven
Meanwhile, as the dough finishes rising, put your covered dutch oven into the oven and preheat both together to 450 degrees Fahrenheit. That screaming-hot pot is the secret to the crispy crust that defines a true Rustic Artisan Bread.
Step 6: Shape the Dough
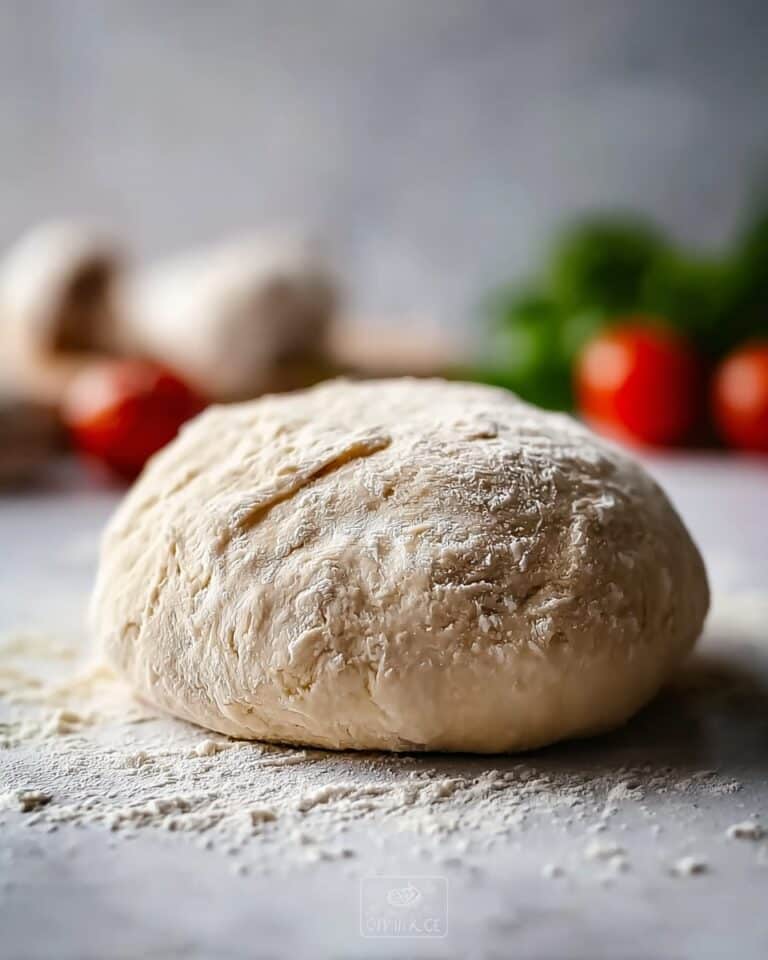
Flour your work surface and set out a big sheet of parchment paper that will fit inside your dutch oven. Scrape the dough out onto the floured surface—it’ll be wet and loose, so don’t worry if it looks messy. Sprinkle another dusting of flour over the top, then use a bench scraper to fold the dough over itself from all sides about four to five times, shaping it into a rough ball. Place the dough onto the parchment and reshape if needed—imperfection is part of the charm!
Step 7: Bake the Rustic Artisan Bread
Once the oven is preheated, carefully remove the hot dutch oven and take off the lid. Lift the dough, parchment paper and all, and place it in the pot. Cover and bake for 30 minutes to let the loaf steam and rise, then remove the lid and bake another 5 to 10 minutes until the top is gorgeously golden. Let your Rustic Artisan Bread cool a bit on a rack before slicing. The hardest part is waiting!
How to Serve Rustic Artisan Bread
Garnishes
A slice of Rustic Artisan Bread is perfection on its own, but a simple swipe of room temperature butter or a sprinkle of flaky sea salt elevates it even more. For a Mediterranean flair, rub a cut clove of garlic over the warm crust, then finish with a drizzle of good olive oil.
Side Dishes
This bread was made for dipping—serve alongside hearty stews, creamy tomato soup, or a colorful salad tossed with tangy vinaigrette. Rustic Artisan Bread also makes a lovely addition to a charcuterie board, soaking up all those tasty flavors.
Creative Ways to Present
For special occasions, slice Rustic Artisan Bread and layer with herbed butter, roasted veggies, or thin slices of cheese for personalized open-faced sandwiches. Or, cut the loaf into rustic cubes and toast them for homemade croutons—your soups and salads will thank you!
Make Ahead and Storage
Storing Leftovers
Wrap leftover Rustic Artisan Bread in a clean kitchen towel or place it in a bread bag at room temperature for up to two days. This protects the crust while keeping the crumb tender, so every slice remains enjoyable.
Freezing
You can freeze the whole loaf or individual slices! Let the bread cool completely, wrap it snugly in plastic wrap followed by foil, and freeze for up to three months. When a craving strikes, thaw at room temperature or toast slices straight from the freezer.
Reheating
To bring back that just-baked warmth, pop sliced Rustic Artisan Bread in a 350 degree oven for 5-10 minutes. For a softer crust, wrap the slices in foil, or toast them open-faced for extra crispiness and a little char.
FAQs
Can I use whole wheat flour in this Rustic Artisan Bread recipe?
Absolutely! You can substitute up to half of the total flour with whole wheat. Expect a slightly denser crumb and a rich, nutty flavor that’s oh-so satisfying.
What if I don’t have a dutch oven?
No problem! Rustic Artisan Bread can also be baked in any heavy, lidded oven-safe pot, or even on a baking stone with an oven-safe bowl of water to create steam for a crusty finish.
Is it normal for the dough to be very wet and sticky?
Yes, this is a signature of Rustic Artisan Bread! The high hydration makes for a beautifully chewy, open crumb. Just use plenty of flour when shaping and trust the process.
Can I make the dough ahead of time and let it rise overnight?
You can! Cover the dough and let it rise slowly in the refrigerator overnight. The longer rise brings out new flavors and actually makes the bread even more delicious.
Why didn’t my bread rise as much as expected?
If your Rustic Artisan Bread didn’t rise sufficiently, check that your yeast is fresh and the water isn’t too hot (which can kill yeast). Also, ensure you gave it enough rising time in a warm place.
Final Thoughts
If you’re ready to fill your kitchen with the unbeatable aroma of homemade Rustic Artisan Bread, this recipe is the perfect place to start. It’s simple, soul-warming, and delivers show-stopping results every single time. Don’t wait for a special occasion—wake up the baker in you and share hearty, freshly baked bread with those you love.
Print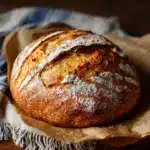
Rustic Artisan Bread Recipe
- Total Time: 3 hours
- Yield: 1 loaf 1x
- Diet: Vegetarian
Description
Learn how to make a delicious Rustic Artisan Bread at home with this simple and easy recipe. This bread is perfect for any occasion and will impress your family and friends with its homemade goodness.
Ingredients
Dry Ingredients:
- 3 cups flour
- 1 tbsp sugar
- 2 tsp quick rise yeast (or traditional yeast)
- 1.5 tsp sea salt or coarse salt
Wet Ingredients:
- 2 tbsp olive oil
- 1.5 – 2 cups warm water
Instructions
- Mix dry ingredients: Combine dry ingredients in a large bowl. Add water and 1 tbsp olive oil. Mix well until dough is sticky and shaggy.
- Pour: Optionally drizzle remaining olive oil over the dough.
- Place: Cover bowl and let dough rise until doubled in size.
- Heat: Preheat oven with covered dutch oven inside to 450°F.
- Prepare dough: Shape dough on parchment paper.
- Remove: Transfer dough to hot dutch oven.
- Bake: Bake covered, then uncovered until golden brown.
Notes
- You can customize this bread by adding herbs, cheese, or seeds to the dough.
- Make sure to let the bread cool slightly before slicing to allow it to set.
- Prep Time: 15 minutes
- Cook Time: 40 minutes
- Category: Bread
- Method: Baking
- Cuisine: Artisan
Nutrition
- Serving Size: 1 slice
- Calories: 150
- Sugar: 1g
- Sodium: 200mg
- Fat: 3g
- Saturated Fat: 0.5g
- Unsaturated Fat: 2g
- Trans Fat: 0g
- Carbohydrates: 27g
- Fiber: 1g
- Protein: 4g
- Cholesterol: 0mg
Keywords: Rustic Artisan Bread, Homemade Bread Recipe, Artisanal Baking


