
Sourdough Starter From Scratch: Easy Step-by-Step Recipe
Introduction
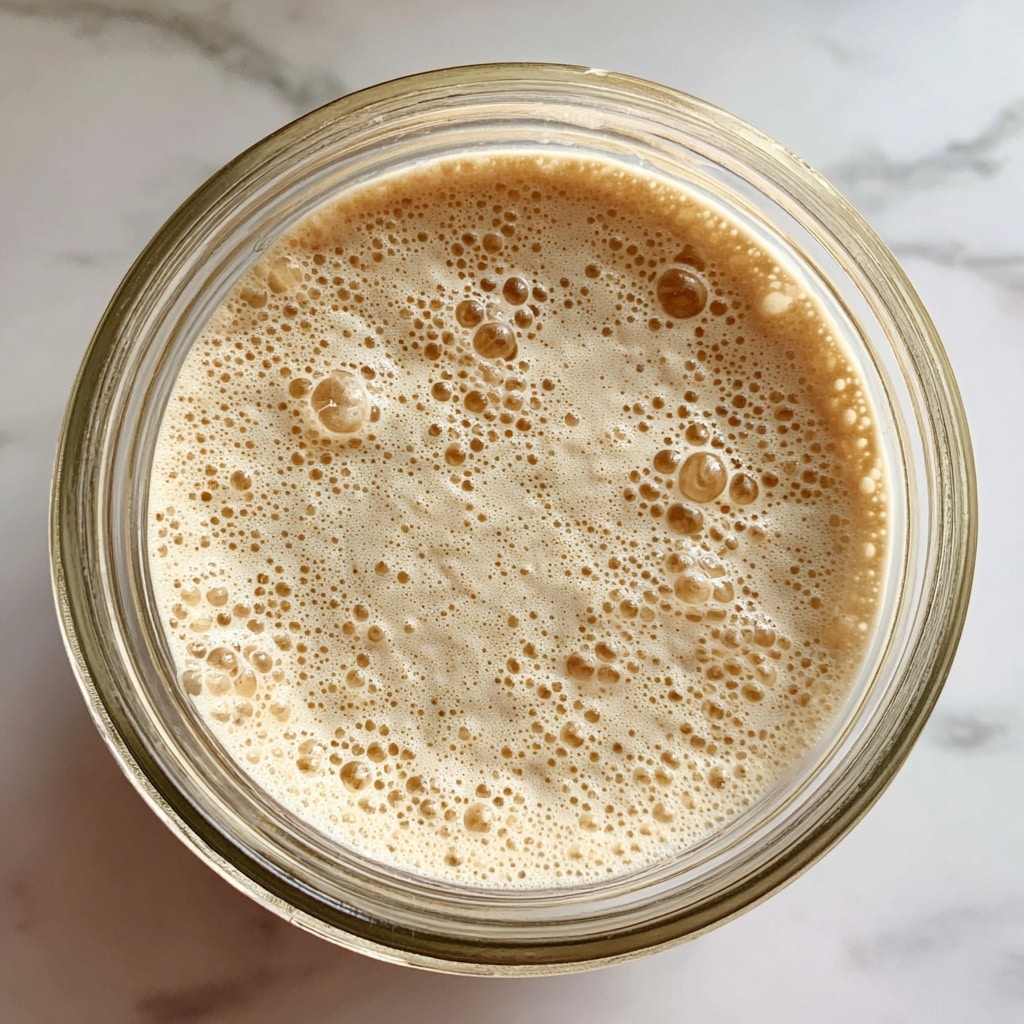
Making a sourdough starter from scratch is a rewarding process that allows you to create naturally leavened breads and baked goods at home. With just flour, water, and a little patience, you’ll nurture wild yeast and bacteria for a lively starter full of flavor. This guide will walk you through each step to build your starter successfully.
Ingredients
- 1/2 cup bread flour (organic preferred; whole grain or whole wheat also work)
- Filtered water (quantity varies, see instructions)
Instructions
- Step 1: On Day 1, mix 1/2 cup bread flour with 1/2 cup filtered water in a clean wide-mouth jar. Stir vigorously to combine, scraping down the sides. Cover the jar with saran wrap secured by a rubber band or with its lid, leaving it slightly loose to allow airflow.
- Step 2: After 24 hours (Day 2), check for bubbles or signs of activity. If bubbly, discard half of the starter into the trash. Feed the remaining starter with 1/2 cup bread flour and 1/2 cup filtered water. Stir well, cover, and wait another 24 hours.
- Step 3: On Day 3, again discard half of the starter, disposing of it in the trash. Feed it with 1/2 cup flour and 1/4 cup water this time. Stir thoroughly, scrape down the sides, cover, and let rest.
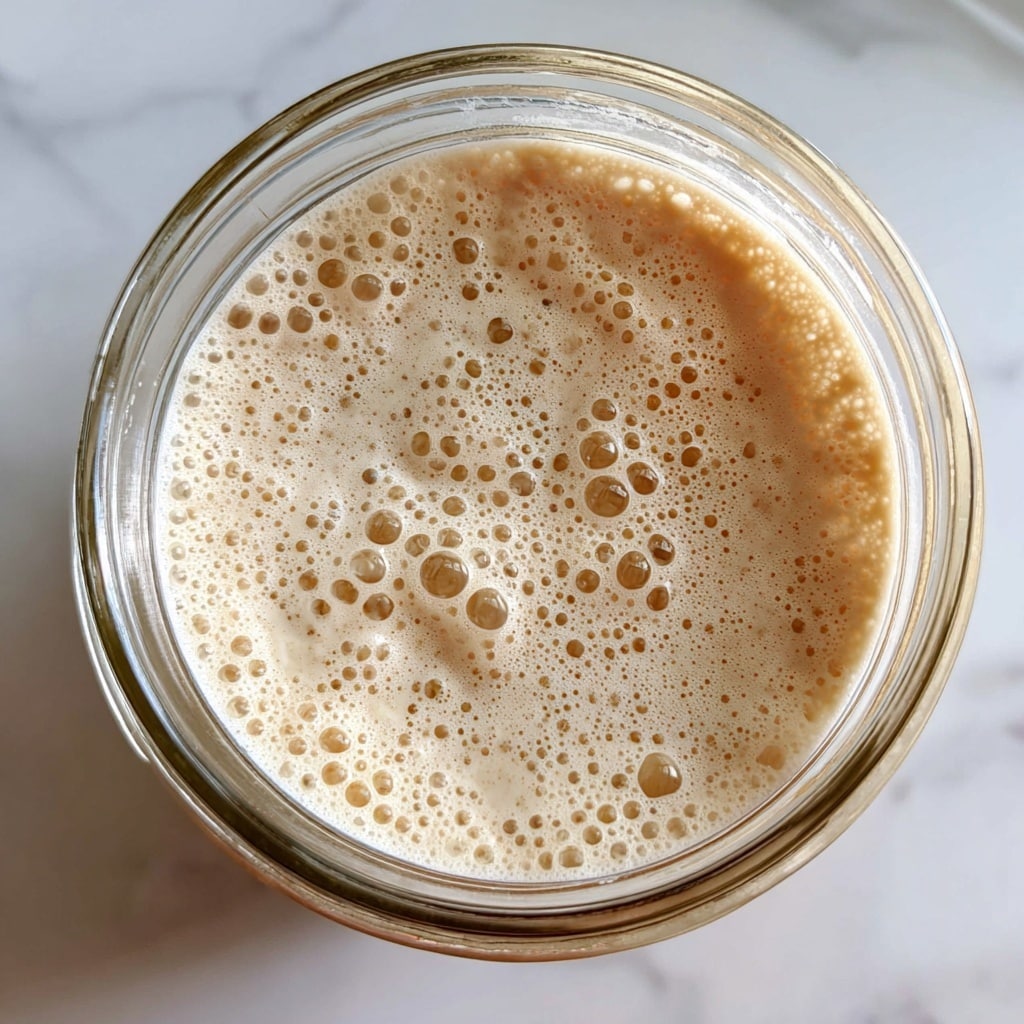
- Step 4: From Day 4 through Day 10, continue the routine of discarding half the starter daily and feeding with fresh flour and water. The starter should become bubbly, active, and begin doubling in size. If activity is slow, be patient—it can take several days for wild yeast to develop.
- Step 5: Your starter is ready when it doubles in size 4 to 8 hours after feeding and has a pleasant, light sour aroma. For best results, wait until Day 14 before baking your first loaf. If desired, transfer the starter to a larger container to maintain a bigger supply for baking and discard recipes.
Tips & Variations
- Use filtered or dechlorinated water to avoid inhibiting yeast growth.
- Maintain a consistent feeding schedule and keep your starter at room temperature for optimal fermentation.
- If your kitchen is cool, find a warm spot like near a stove or inside an oven with just the light on.
- Feel free to experiment with different flours—whole wheat or rye can boost fermentation speed and flavor complexity.
Storage
Once your starter is active and ready, you can store it in the refrigerator to slow fermentation. Feed it once a week by discarding half and replenishing with fresh flour and water. Before baking, bring it back to room temperature and feed it 1 to 2 days ahead to reactivate. If storing at room temperature, feed daily to keep it healthy.
How to Serve
Serve this delicious recipe with your favorite sides.
FAQs
How do I know if my sourdough starter is healthy?
A healthy starter will be bubbly, have risen noticeably after feeding, and emit a pleasant, slightly tangy aroma. It should double in size within a few hours of feeding. Avoid starters that smell rotten or have mold.
Can I use whole wheat or rye flour instead of bread flour?
Yes, whole wheat and rye flours contain more nutrients and wild yeast, often resulting in faster fermentation and a more flavorful starter. You can use them alone or blend with bread flour according to your preference.
Print
Sourdough Starter From Scratch: Easy Step-by-Step Recipe
- Total Time: Approximately 14 days for a mature starter
- Yield: Approximately 1 to 2 cups of active sourdough starter 1x
- Diet: Vegetarian
Description
Learn how to make a healthy and active sourdough starter from scratch with this easy step-by-step guide. Perfect for baking your own sourdough bread, cookies, and other delicious baked goods using natural fermentation.
Ingredients
Ingredients
- 1/2 cup bread flour (organic preferred; can substitute with whole grain or whole wheat flour)
- 1/2 cup filtered water (divided amounts used during feeding)
Instructions
- Day 1: Initial Mix Mix 1/2 cup bread flour and 1/2 cup filtered water in a clean wide-mouth jar. Stir vigorously, scraping down the sides to incorporate air. Cover with plastic wrap secured with a rubber band or place the jar lid loosely on top to allow airflow.
- Day 2: Check and Feed After 24 hours, check your starter for any bubbles or activity. If active, discard half of the starter in the trash. Then feed it with 1/2 cup bread flour and 1/2 cup filtered water. Stir well, cover, and let sit another 24 hours.
- Day 3: Discard and Feed Discard half of the starter again (dispose in trash). Feed with 1/2 cup bread flour and 1/4 cup filtered water. Stir, scrape down the sides, cover, and let ferment.
- Days 4-10: Repeat Feeding Each day, discard half of the starter and feed with fresh flour and water, stirring well and covering afterwards. Starter should gradually become bubbly, active, and double in size within hours. Don’t worry if it takes time to develop.
- Day 10-14: Ready to Use Your starter is ready to bake with when it doubles in size 4-8 hours after feeding and has a light, clean sourdough aroma. For best results, wait until day 14 before baking bread.
- Optional: Storage Transfer to a larger container if you want to keep a large amount of starter for baking and sourdough discard recipes.
Notes
- Always discard the removed starter in the trash to avoid fermenting unwanted molds or bacteria.
- Use filtered or dechlorinated water, as chlorine can inhibit fermentation.
- Organic flour is preferred to encourage natural yeasts and bacteria growth.
- Keep the starter at room temperature around 70-75°F (21-24°C) for optimal fermentation.
- The feeding ratio of flour to water can vary slightly; maintain a thick but stirrable consistency.
- Do not seal the jar completely airtight; allow gases to escape during fermentation.
- Prep Time: 5 minutes initial per day, ongoing daily maintenance
- Cook Time: No actual cooking involved; fermentation time over 10 to 14 days
- Category: Breakfast
- Method: No-Cook
- Cuisine: American
Keywords: bread, sourdough, sourdough starter, fermentation, homemade starter, natural yeast


