
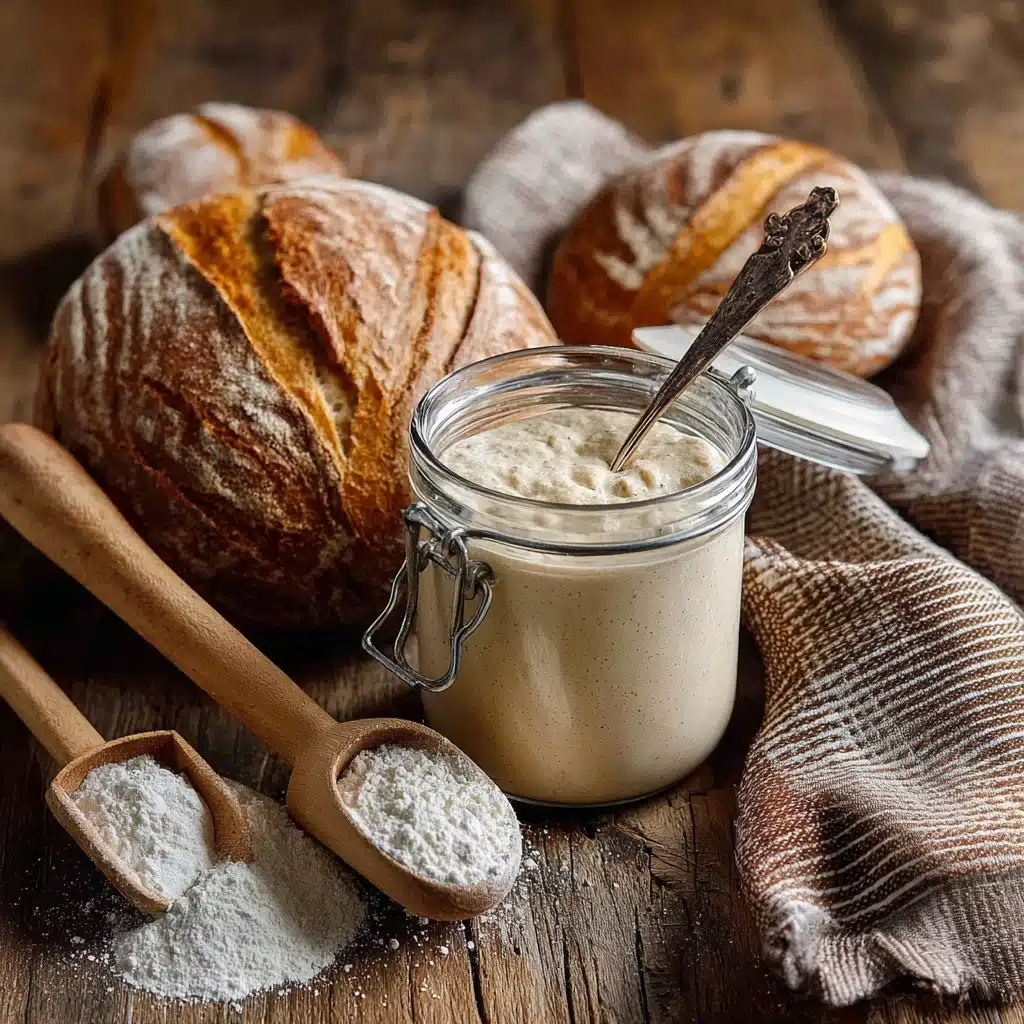
Traditional Sourdough Starter Recipe
If you’ve ever dreamed of baking bread that sings with flavor and has that perfectly tangy character, creating your own Traditional Sourdough Starter is the magical first step. This naturally fermented mixture, made simply from flour and water, is the heart and soul behind the incredible rise and depth that make sourdough bread legendary. Nurturing this starter feels like cultivating a living piece of kitchen history, and once you get the hang of it, it opens up endless possibilities for delicious homemade breads bursting with personality and charm.
Ingredients You’ll Need
The beauty of a Traditional Sourdough Starter is its simplicity. It only calls for two basic ingredients, but each one plays a crucial role to cultivate those wild yeast and friendly bacteria that bring your bread to life. Using the right components ensures your starter develops a vibrant, lively culture that’s ready to bake.
- Unbleached all-purpose flour: The unbleached variety keeps essential nutrients intact, feeding the natural yeasts and bacteria effectively for a robust starter.
- Water (preferably non-chlorinated): Fresh, chlorine-free water creates the perfect environment for microorganisms to thrive without interference, ensuring a healthy fermentation.
How to Make Traditional Sourdough Starter
Step 1: Combine Flour and Water (Day 1)
Start by mixing 1/2 cup of water and 1/4 cup of unbleached all-purpose flour in a clean glass jar. Stir until you get a thick, lump-free batter. This simple mixture is the birthplace of your starter’s wild yeasts and bacteria, so it’s important to keep it in a warm spot to begin the natural fermentation process.
Step 2: The Waiting Game (Day 2)
Patience is key here. On the second day, you don’t need to stir or add anything. Rest the mixture quietly so those natural microbes start getting to work. It might not look like much has changed, but the magic is happening beneath the surface.
Step 3: Feeding and Discarding (Day 3)
By day three, you might notice a dark liquid called hooch on top, which is perfectly normal and a sign your starter is active. Scoop out half the mixture and discard it (or save it for recipes if you’re feeling adventurous). Then feed your starter with 1/2 cup of flour and 1/4 cup of water, stirring well to combine and keep those microbes thriving.
Step 4: Daily Feeding Routine (Days 4 to 7)
Each day, repeat the process of discarding half your starter and replenishing it with fresh flour and water. This steady feeding cycle keeps your Traditional Sourdough Starter healthy and growing, building those bubbles and the fluffy texture that signal readiness.
Step 5: Watch for Bubbles and Growth (Day 7-8)
Once your starter is bubbly, has roughly doubled in size, and feels airy and fluffy, you’re almost there. If it’s not quite bubbling or rising like you want, keep feeding daily until it reaches this lively, active state.
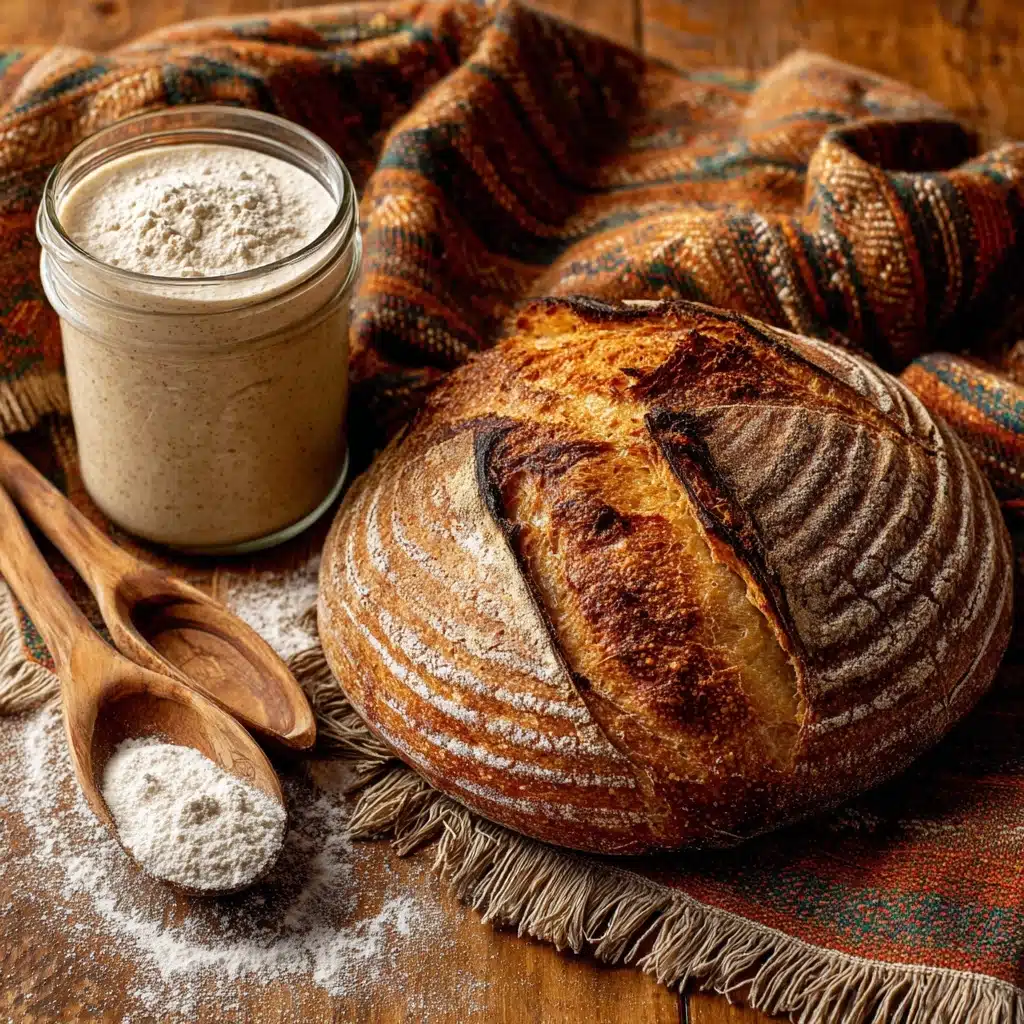
Step 6: Transfer to a Fresh Jar
When your starter is lively and ready, move it to a clean jar to give it room to expand and keep it fresh. Now you have a loving, living Traditional Sourdough Starter ready to bring incredible flavor and texture to your homemade breads.
How to Serve Traditional Sourdough Starter
Garnishes
While the starter itself is not served like a condiment, when used in recipes, it imparts a subtle tanginess and a rich depth of flavor that enhances all kinds of baked goods. You can add a sprinkle of herbs, seeds, or grains on the crust of your bread for extra texture and visual appeal.
Side Dishes
Sourdough bread made with your Traditional Sourdough Starter pairs beautifully with hearty soups, creamy cheeses, and vibrant butters. The bread’s tang and chew can enhance everything from a bowl of tomato bisque to an afternoon cheese board.
Creative Ways to Present
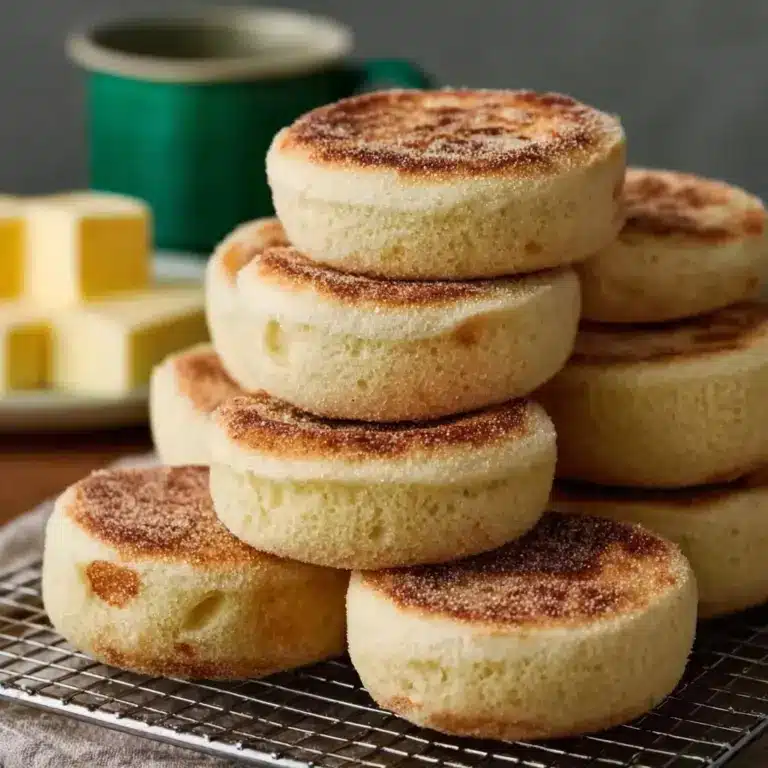
Why stop at bread? Use your starter to create pancakes, waffles, or even pizza dough for a slightly tangy twist that elevates these familiar dishes. Offering small bowls of flavored butters alongside your sourdough loaf can turn a simple snack into an elegant treat.
Make Ahead and Storage
Storing Leftovers
Your Traditional Sourdough Starter is quite forgiving and happy to be nursed along in the fridge if you’re not baking every day. Store it in a loosely covered jar, feeding it at least once a week to keep the cultures lively. This slow-down method makes it easier to maintain without daily care.
Freezing
If you need to take a longer break, you can freeze your starter. Before freezing, feed it well and let it become active. Freeze a portion in an airtight container. When you’re ready to bake again, thaw and resume regular feedings to reactivate the culture.
Reheating
When you’re ready to bake after chilling or freezing, bring your starter to room temperature and feed it a couple of times to wake it back up. Warm, cozy is the ideal environment to help those wild yeasts revive and get bubbling before you mix your dough.
FAQs
What if my starter isn’t bubbling by day 7?
Don’t worry! Sometimes it takes longer for the natural yeasts to develop. Keep feeding daily and ensure it’s kept in a warm spot around 70-75°F. Eventually, it will show signs of life and start bubbling.
Can I use whole wheat flour instead of all-purpose flour?
Yes, whole wheat can speed up the fermentation because of its higher nutrient content, but it may produce a denser starter. Many bakers prefer starting with unbleached all-purpose and then incorporating whole wheat in feedings.
Why is there a liquid layer on top of my starter?
This liquid, called hooch, is normal and indicates your starter is hungry or resting. Stir it back in or pour it off before feeding. Regular feedings prevent hooch from forming frequently.
How often should I feed my starter when baking frequently?
If you bake daily, feed your starter every 12-24 hours to keep it active and ready. For less frequent baking, weekly feedings in the fridge suffice.
Can I share my Traditional Sourdough Starter with friends?
Absolutely! Many bakers love gifting a portion of their starter. Just make sure to include feeding instructions so your friends can keep their starter happy and healthy.
Final Thoughts
Embarking on the journey of cultivating your own Traditional Sourdough Starter is like making a new kitchen companion that rewards your care with incredible flavors and textures. With just flour, water, and a bit of patience, you unlock a world of baking possibilities that taste all the sweeter because they come from your very own homemade starter. Give it a go—you’ll be amazed at how satisfying and delicious the process can be.
Print
Traditional Sourdough Starter Recipe
- Total Time: 7 to 8 days
- Yield: Approximately 1 to 1.5 cups of active starter 1x
- Diet: Vegetarian
Description
Create a traditional sourdough starter using simple ingredients and a natural fermentation process. This starter forms the base for delicious homemade sourdough bread, developing complex flavors and a bubbly, active culture over 7 to 8 days.
Ingredients
Starter Ingredients
- 1/4 cup unbleached all-purpose flour (plus additional for feedings)
- 1/2 cup water (preferably non-chlorinated fresh water, plus additional for feedings)
Instructions
- Day 1: Initial Mix. Combine 1/2 cup water and 1/4 cup unbleached all-purpose flour in a clean glass jar. Stir thoroughly until a thick, uniform mixture forms. This provides the base for your sourdough culture.
- Day 2: Rest. Allow the mixture to rest undisturbed to begin natural fermentation. No feeding or stirring is needed on this day.
- Day 3: First Feeding. Check for a dark liquid (hooch) on top, which is normal and indicates fermentation. Discard half of the starter mixture to manage growth and flavors. Add 1/2 cup flour and 1/4 cup water. Stir well to integrate all ingredients.
- Days 4-7: Daily Feedings. Each day, discard half of the starter to maintain balance. Then add 1/2 cup unbleached all-purpose flour and 1/4 cup water. Stir thoroughly to encourage active fermentation and development.
- Day 7-8: Assess Maturity. Your sourdough starter should now be bubbly, have doubled in size, and appear fluffy. If the starter hasn’t reached this stage, continue the daily feeding process until it does.
- Transfer Starter. When your starter is active and bubbly, transfer it to a fresh glass jar to keep it healthy and ready for baking.
Notes
- Use unbleached, all-purpose flour for best fermentation results.
- Non-chlorinated water is important as chlorine can inhibit fermentation.
- Discarded starter can be used in recipes like pancakes or waffles to minimize waste.
- Maintain consistent temperature around 70-75°F (21-24°C) for optimal fermentation.
- If your starter develops any pink or orange hues or foul odors, discard it and start over as this indicates contamination.
- Feedings can be adjusted slightly depending on starter activity and environment.
- Prep Time: 10 minutes initially; about 5 minutes each feeding
- Cook Time: 0 minutes (no cooking involved)
- Category: Bread Starter
- Method: Fermentation
- Cuisine: International
Nutrition
- Serving Size: 2 tablespoons (30g)
- Calories: 60
- Sugar: 0.1g
- Sodium: 1mg
- Fat: 0.2g
- Saturated Fat: 0.03g
- Unsaturated Fat: 0.15g
- Trans Fat: 0g
- Carbohydrates: 13g
- Fiber: 0.4g
- Protein: 2g
- Cholesterol: 0mg
Keywords: sourdough starter, bread starter, fermentation, natural yeast, homemade starter


