
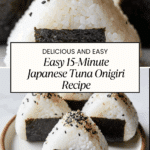
Easy 15-Minute Japanese Tuna Onigiri Recipe
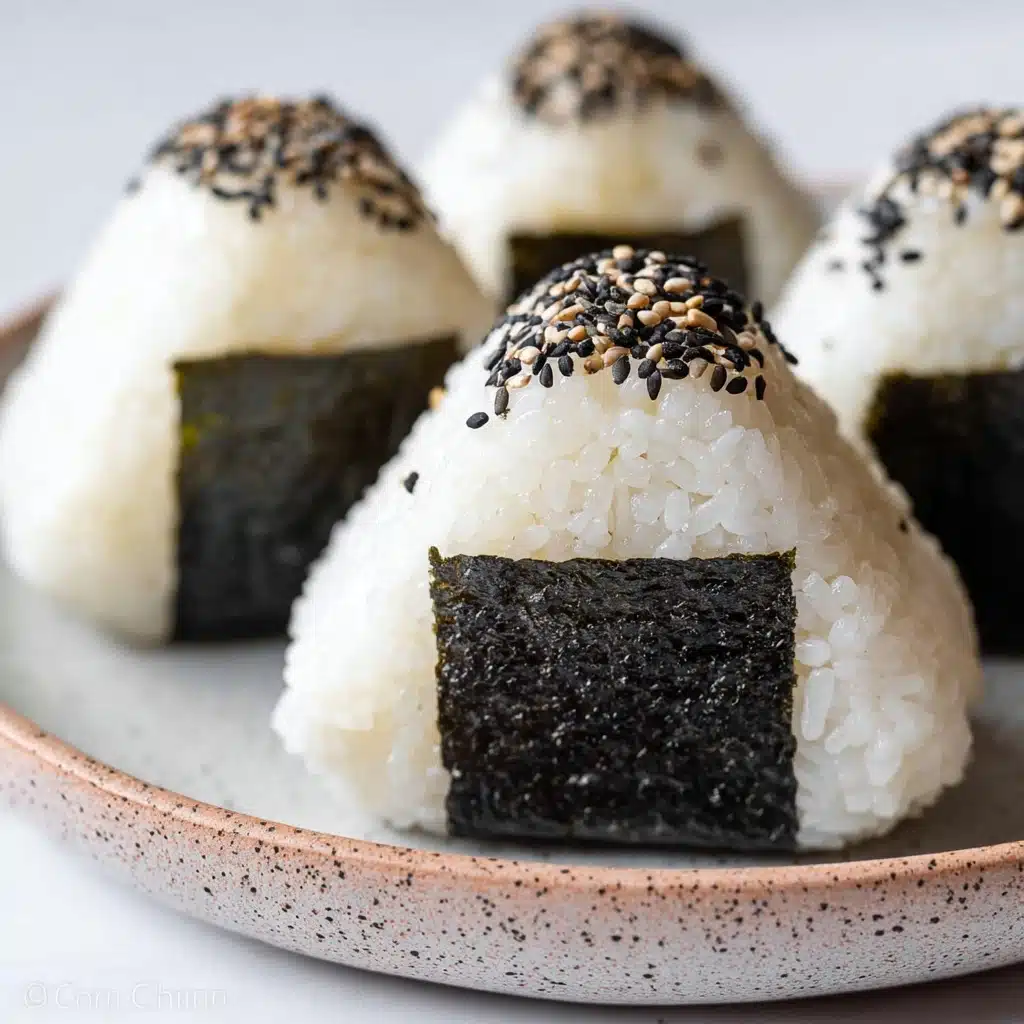
There is something incredibly satisfying about biting into a freshly made 15-min Japanese Tuna Onigiri. This delightful rice ball combines warm, fluffy short-grain rice with a creamy, savory tuna mayo filling, all wrapped in crisp nori seaweed. It’s simple, comforting, and perfect for when you want an authentic Japanese snack or light meal without spending hours in the kitchen. Whether you’re new to onigiri or a seasoned fan, this quick recipe delivers big flavor in just a few easy steps.
Ingredients You’ll Need
These ingredients are wonderfully straightforward but essential to creating the perfect balance of taste, texture, and color in your onigiri. Each element plays its part: the fluffy rice forms the base, the tuna mayo adds creamy umami, and the nori brings a hint of ocean-fresh crispness.
- 2 sheets nori: Provides the classic seaweed wrap that holds the onigiri together and adds a unique umami flavor.
- 1 tsp sesame seeds: Adds a subtle nutty crunch and a lovely garnish.
- 2 cups cooked short grain rice: The sticky texture is perfect for molding rice balls that hold shape.
- 1/2 tsp salt: Enhances the natural flavors of the rice and seasoning.
- 5.29 oz canned tuna: Tuna in oil is best for richness, but water-packed works too for a lighter touch.
- 2 tbsp Japanese mayo: Creamy, tangy mayo that binds the tuna and adds an irresistible flavor punch.
How to Make Easy 15-Minute Japanese Tuna Onigiri Recipe
Step 1: Prepare the Rice
Start by transferring your hot cooked short-grain rice into a large bowl. Sprinkle in the salt and gently fold it in with a rice paddle or spatula. If using leftover cold rice, simply cover and microwave it for 2-3 minutes until warmed through before seasoning. This ensures your rice is sticky yet fluffy, the perfect foundation for your onigiri.
Step 2: Mix the Tuna Filling
Drain the canned tuna using a fine sieve, pressing gently with a fork to remove excess liquid. This step is crucial to avoid soggy rice balls. Transfer the tuna to a small bowl and stir in the Japanese mayo until smooth and combined. The creamy tuna filling is what makes these onigiri irresistibly tasty and satisfying.
Step 3: Prepare Nori Sheets
Decide how much seaweed you prefer — use two full sheets cut in half for bold, crispy layers, or half a sheet cut into strips for a lighter touch. Keep the nori handy as it will be wrapped around the rice balls to encase the delicious filling.
Step 4: Shape the Rice Balls
Wet your hands with water to prevent sticking, then scoop about 1/2 cup or 100 grams of rice into your palm. Flatten it gently into a pancake shape and create a small dent in the middle. Spoon in roughly 2 tablespoons or 30 ml of the tuna mayo mixture into the dent. This step takes the 15-min process to the next level of ease and delight.
Step 5: Fold and Shape
Carefully fold the rice over the filling, pressing gently to compact it without squashing the mixture. Shape the rice into a firm triangle about 1.5 inches thick, wetting your hands as needed to keep the surface smooth and prevent sticking. This gives your onigiri that iconic triangular silhouette.
Step 6: Wrap and Garnish
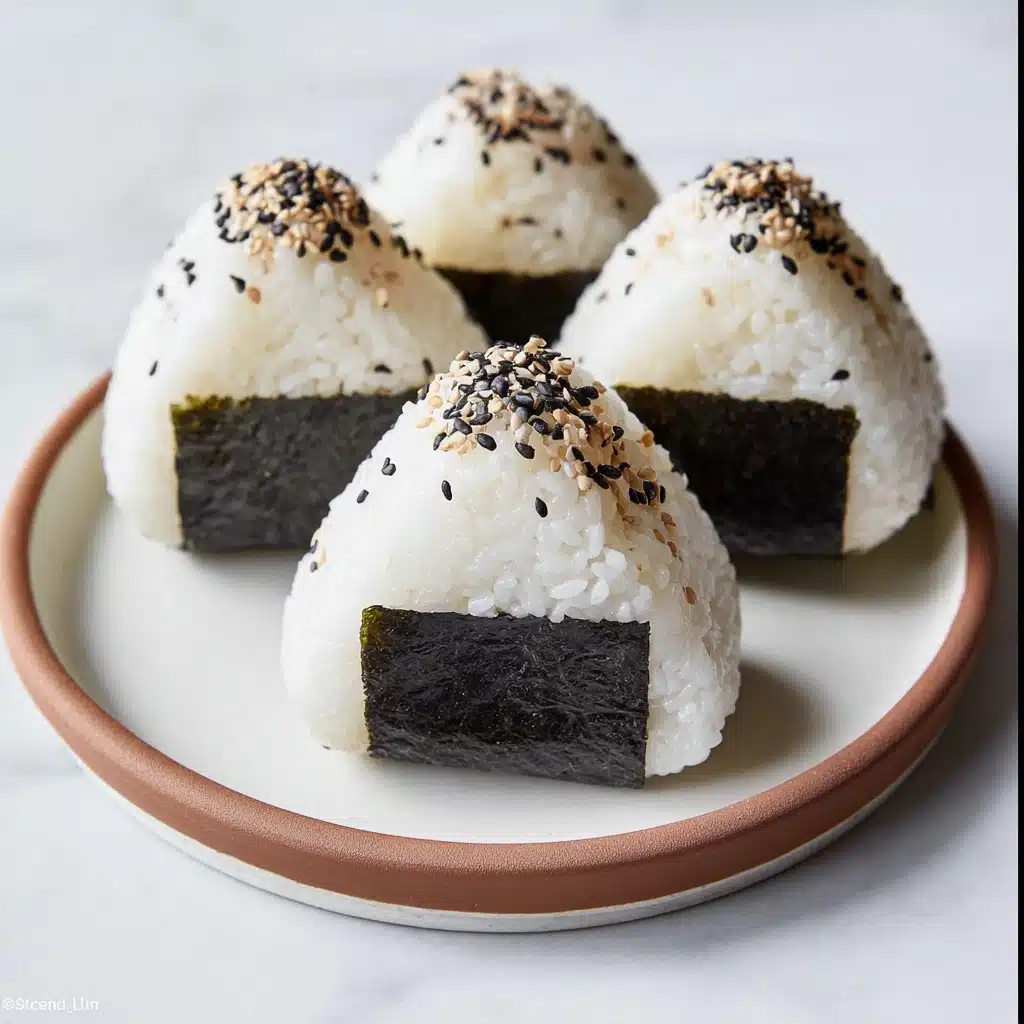
Wrap a piece of nori around the base of each rice triangle. Repeat until all four rice balls are ready. Sprinkle the top with sesame seeds for a touch of nutty flavor and instant visual appeal. Your 15-min Japanese Tuna Onigiri are ready to be enjoyed right away!
How to Serve Easy 15-Minute Japanese Tuna Onigiri Recipe
Garnishes
Adding garnishes like sesame seeds not only enhances flavor but adds a beautiful contrast to the dark green nori and white rice. You can also experiment with tiny pickled ginger slices or a light brushing of soy sauce for a subtle savory boost that complements the creamy tuna mayo beautifully.
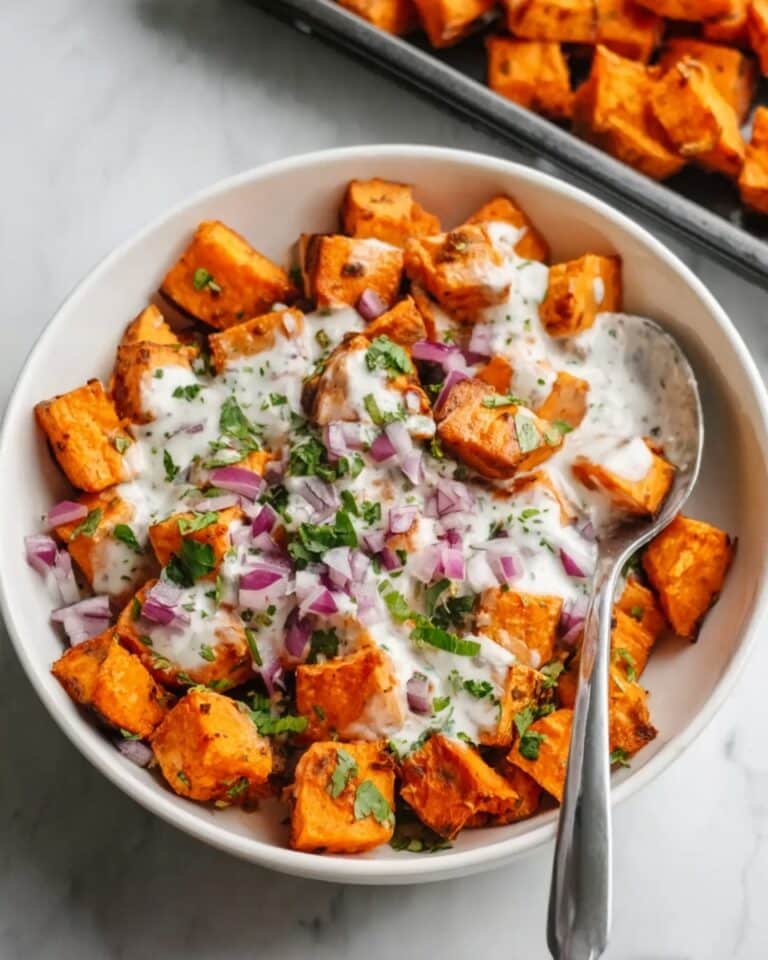
Side Dishes
Onigiri pairs wonderfully with a crisp Japanese cucumber salad, miso soup, or simple steamed edamame. These sides keep the meal light, fresh, and balanced while allowing the 15-min tuna onigiri to shine as the star of the plate.
Creative Ways to Present
For an eye-catching snack spread, arrange your onigiri triangles on a wooden sushi board or a bamboo leaf, garnished with shiso leaves or thinly sliced scallions. You can even halve them and serve as bite-sized appetizers at your next gathering. Presentation adds a festive touch without any extra work.
Make Ahead and Storage
Storing Leftovers
If you have leftover onigiri, tightly wrap each piece in plastic wrap to retain moisture and prevent drying out. Store in the refrigerator and consume within 24 hours for the best taste and texture.
Freezing
While freezing is possible, it can affect the texture of the rice and nori. Place wrapped onigiri in an airtight container and freeze for up to one month. Thaw overnight in the refrigerator and avoid microwaving directly from frozen to preserve quality.
Reheating
Reheat refrigerated onigiri by microwaving them for 20-30 seconds with a damp paper towel on top to keep the rice moist. Avoid reheating the nori directly if you want to keep it crisp; instead, add fresh nori after warming.
FAQs
Can I use leftover rice for this 15-min recipe?
Absolutely! Just warm your leftover rice in the microwave for a few minutes to bring back its stickiness before seasoning and molding. This helps achieve the perfect texture for forming the onigiri.
What’s the difference between Japanese mayo and regular mayo?
Japanese mayo tends to be creamier and slightly sweeter with a tangier flavor due to the use of rice vinegar. It enhances the umami of the tuna mixture, but regular mayo works well if you can’t find it easily.
Can I make onigiri without tuna?
Definitely! Onigiri is versatile. You can fill it with a variety of ingredients like pickled plum, grilled salmon, or cooked vegetables to suit your taste.
How do I prevent the rice from sticking to my hands?
Keep a small bowl of water nearby and dip your hands in before handling the rice. This simple tip keeps the rice from sticking and makes shaping much easier.
Why is seaweed important for onigiri?
Nori wraps the rice ball, adding a salty umami flavor and providing a practical way to hold the onigiri without it falling apart or sticking to your fingers.
Final Thoughts
Making these 15-min Japanese Tuna Onigiri is an absolute joy whether you’re assembling a quick lunch or a delightful snack for friends. The combination of tender rice, creamy tuna mayo, and crisp nori is comfort food magic in every bite. I encourage you to give this recipe a try—you’ll be amazed how easy it is to create authentic Japanese flavors in just 15 minutes!
Print
Easy 15-Minute Japanese Tuna Onigiri Recipe
- Total Time: 15 minutes
- Yield: 4 onigiri 1x
- Diet: Halal
Description
This 15-minute Easy Japanese Tuna Onigiri recipe offers a delightful and quick way to enjoy traditional Japanese rice balls filled with a flavorful tuna mayo mixture. Perfect for a light lunch or snack, the recipe combines seasoned short-grain rice with creamy tuna and mayonnaise, wrapped in crispy nori seaweed for the perfect handheld meal.
Ingredients
For the Rice
- 2 cups cooked short grain rice
- 1/2 tsp salt
For the Tuna Filling
- 5.29 oz canned tuna (in oil recommended, or canned tuna in water)
- 2 tbsp Japanese mayonnaise (or regular mayonnaise)
For Assembly and Garnish
- 2 sheets nori (or 1/2 sheet if you prefer less)
- 1 tsp sesame seeds (for garnishing, optional)
Instructions
- Season the Rice: Transfer hot cooked short-grain rice into a large bowl and sprinkle with 1/2 teaspoon salt. Using a rice paddle or spoon, gently mix and season the rice. Cover the bowl and set aside. If using leftover cold rice, microwave it covered for 2-3 minutes prior to seasoning to warm it up.
- Prepare the Tuna Filling: Open the canned tuna and strain it using a fine sieve to remove excess liquid by pressing gently with a fork. Transfer the drained tuna to a small bowl and mix thoroughly with 2 tablespoons of Japanese mayo until combined. Set this filling aside.
- Prepare the Nori: Depending on your preference for seaweed, cut the nori sheets accordingly. For more seaweed, cut two sheets into halves to get 4 pieces. For less, cut half a sheet into 4 equal strips. Set these aside for wrapping.
- Shape the Rice and Add Filling: Fill a bowl with water to wet your hands and prevent sticking. Take about 1/2 cup or 100 grams of the seasoned rice and place it onto your palm. Shape it into a round ball, then flatten it into a 1/2-inch thick pancake. Create a small dent in the center and spoon approximately 2 tablespoons (30 ml) of the tuna mayo mixture into it. Optionally, you can use an onigiri mold or plastic wrap to assist in shaping.
- Form the Onigiri: Carefully fold the rice over the tuna filling, pushing the filling towards the center. Pack the rice firmly into a ball, then flatten it to about 1.5 inches thick. Shape the rice ball into a triangle by pressing gently at the sides, wetting your hands as needed to avoid stickiness.
- Wrap with Nori and Garnish: Wrap one piece of prepared nori around the base and sides of each triangular rice ball. Repeat the process to make a total of four onigiri. Sprinkle 1 teaspoon of sesame seeds over the top of each onigiri, if desired. Eat immediately for best taste and texture.
Notes
- If making fresh rice, rinse short-grain rice until water runs clear before cooking for optimal texture.
- Using Japanese mayonnaise adds authentic flavor, but regular mayo can be substituted.
- To prevent rice from sticking to your hands, keep a small bowl of water nearby and moisten your hands before shaping each onigiri.
- Onigiri molds or plastic wrap can make shaping easier and less messy.
- Consume onigiri soon after preparation to enjoy the best texture of the nori and rice.
- Prep Time: 5 minutes
- Cook Time: 10 minutes
- Category: Snack
- Method: Mixing, Shaping, Wrapping
- Cuisine: Japanese
Nutrition
- Serving Size: 1 onigiri (about 100 grams)
- Calories: 210
- Sugar: 0.3 g
- Sodium: 350 mg
- Fat: 7 g
- Saturated Fat: 1 g
- Unsaturated Fat: 5.5 g
- Trans Fat: 0 g
- Carbohydrates: 28 g
- Fiber: 1 g
- Protein: 8 g
- Cholesterol: 15 mg
Keywords: Japanese tuna onigiri, tuna rice balls, easy onigiri recipe, quick Japanese snack, tuna mayo onigiri
