Brownie Bottom Mini Cheesecakes Recipe
Introduction
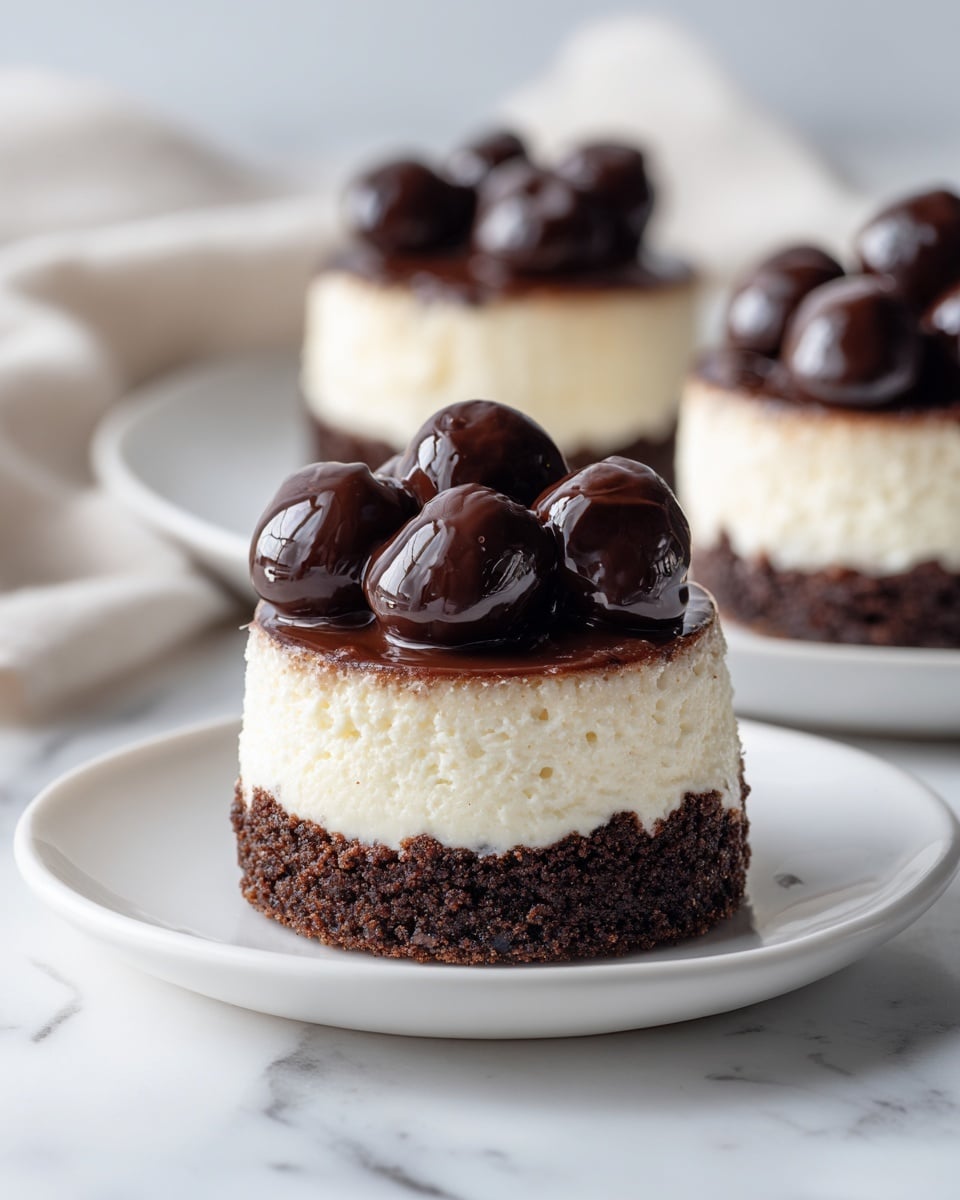
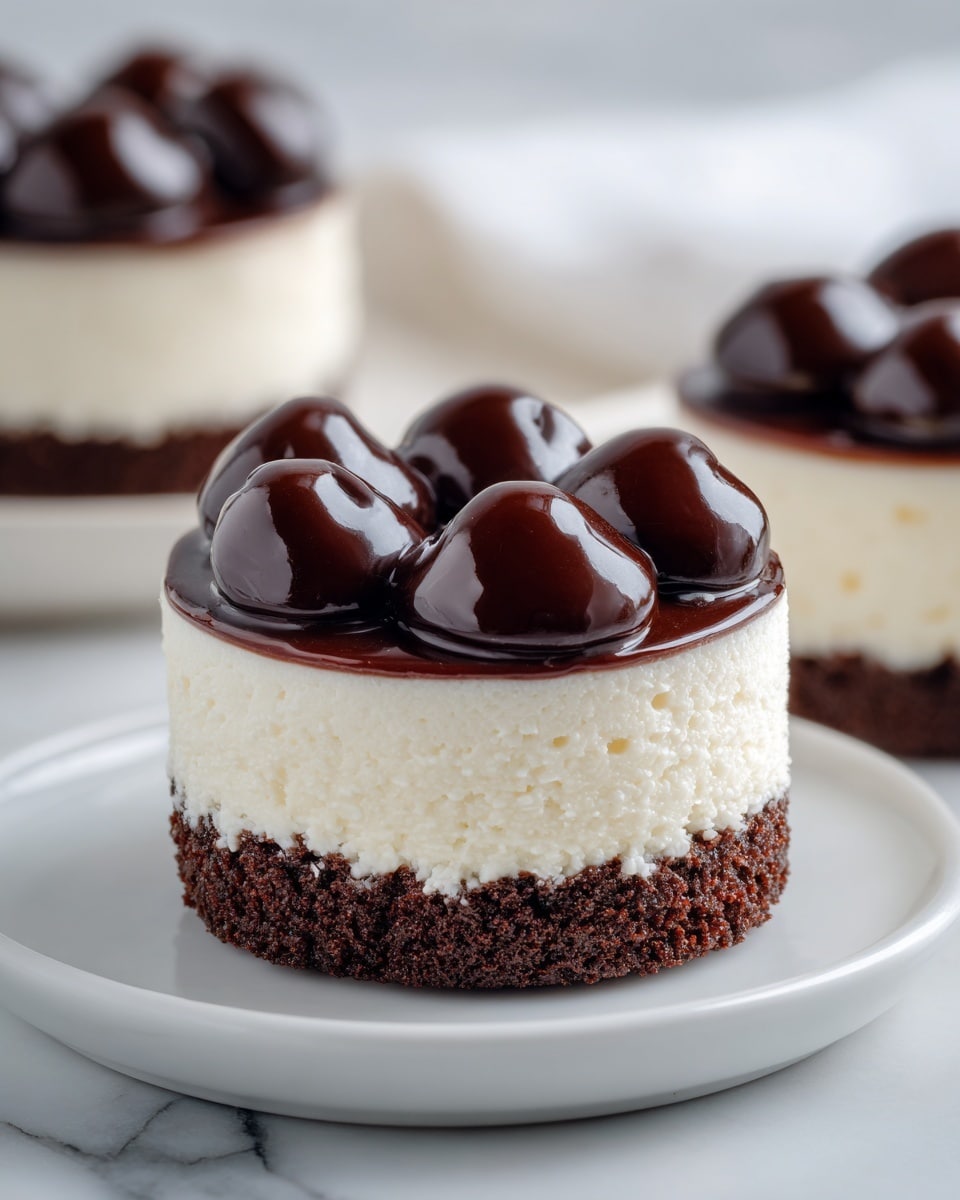
These Brownie Bottom Mini Cheesecakes offer the perfect balance of rich, fudgy brownie and creamy cheesecake in every bite. Ideal for parties or a special treat, they’re sure to impress your guests with their delicious layers and beautiful presentation.
Ingredients
- 1/2 cup Unsalted Butter (melted; can substitute with coconut oil)
- 1 cup Granulated Sugar (brown sugar can be used for a deeper flavor)
- 1 large Egg (can use a flax egg for a vegan alternative)
- 1/2 cup All-Purpose Flour (replace with a gluten-free blend for gluten-sensitive diets)
- 1/4 cup Unsweetened Cocoa Powder (use dark cocoa for a richer flavor)
- 1 teaspoon Vanilla Extract (almond extract can be a unique twist)
- 1/4 teaspoon Salt (kosher or sea salt works best)
- 8 oz Cream Cheese (softened; Neufchâtel cheese for a lighter option)
- 1/4 cup Granulated Sugar
- 1 large Egg (room temperature) (silken tofu for a vegan option)
- 1 teaspoon Vanilla Extract (for cheesecake; same substitution options as for brownie base)
Instructions
- Step 1: Preheat your oven to 350°F (175°C) and line a standard 12-cup muffin tin with paper liners.
- Step 2: In a medium bowl, whisk together melted butter and sugar. Add the egg and vanilla extract, mixing until smooth.
- Step 3: In a separate bowl, sift together flour, cocoa powder, and salt. Fold the dry ingredients into the wet mixture until just combined.
- Step 4: Spoon about 1 tablespoon of brownie batter into each muffin liner and bake for 10-12 minutes. Remove from oven and let cool.
- Step 5: Beat the cream cheese until smooth. Add sugar, egg, and vanilla extract, mixing gently until well combined.
- Step 6: Spoon cheesecake filling over the cooled brownie bases, filling each cup about three-quarters full. Return to the oven and bake for 15-18 minutes.
- Step 7: Let the mini cheesecakes cool in the oven for 1 hour. Then transfer to the countertop until they reach room temperature.
- Step 8: Chill in the refrigerator for at least 4 hours or overnight before serving for the best texture and flavor.
Tips & Variations
- For a vegan version, substitute eggs with flax eggs and use silken tofu instead of cream cheese.
- Try adding a teaspoon of instant espresso powder to the brownie batter for a mocha twist.
- Use brown sugar in the brownie base for a richer, more caramel-like flavor.
- Top with fresh berries or a drizzle of chocolate sauce before serving to add extra flair.
Storage
Store the mini cheesecakes in an airtight container in the refrigerator for up to 5 days. To enjoy, let them sit at room temperature for about 10 minutes before serving. You can also freeze them for up to 1 month; thaw overnight in the refrigerator and serve chilled.
How to Serve
Serve this delicious recipe with your favorite sides.
FAQs
Can I make these mini cheesecakes ahead of time?
Yes, they actually taste better after chilling overnight as the flavors meld and the texture firms up.
Can I use a different type of pan instead of a muffin tin?
A standard 12-cup muffin tin is best for shaping these mini cheesecakes evenly, but you could try mini tart pans or silicone molds with similar results.
Print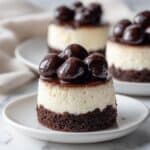
Brownie Bottom Mini Cheesecakes Recipe
- Total Time: 4 hours 50 minutes (including chilling time)
- Yield: 12 mini cheesecakes 1x
Description
These Brownie Bottom Mini Cheesecakes combine rich, fudgy brownie bases with creamy, smooth cheesecake filling for a delightful dessert that is perfect for parties or special occasions. They are baked in a muffin tin for easy individual servings and chilled to set perfectly.
Ingredients
Brownie Base
- 1/2 cup Unsalted Butter, melted (can substitute with coconut oil)
- 1 cup Granulated Sugar (brown sugar can be used for a deeper flavor)
- 1 large Egg (can use a flax egg for a vegan alternative)
- 1/2 cup All-Purpose Flour (replace with gluten-free blend for gluten-sensitive diets)
- 1/4 cup Unsweetened Cocoa Powder (use dark cocoa for richer flavor)
- 1 teaspoon Vanilla Extract (almond extract as a twist)
- 1/4 teaspoon Salt (kosher or sea salt works best)
Cheesecake Filling
- 8 oz Cream Cheese, softened (Neufchâtel cheese for a lighter option)
- 1/4 cup Granulated Sugar
- 1 large Egg, room temperature (silken tofu for vegan option)
- 1 teaspoon Vanilla Extract (same substitution options as brownie base)
- 2 tablespoons Sour Cream
Instructions
- Preparation: Preheat your oven to 350°F (175°C) and line a standard 12-cup muffin tin with paper liners to prepare for baking.
- Make Brownie Batter: In a medium bowl, whisk together the melted butter and sugar until combined. Add the egg and vanilla extract, mixing until smooth and uniform.
- Combine Dry Ingredients: Sift together the flour, cocoa powder, and salt in a separate bowl to remove lumps and ensure even mixing.
- Mix Batter: Gently fold the dry ingredients into the wet mixture until just combined, being careful not to overmix.
- Bake Brownie Bases: Spoon about 1 tablespoon of the batter into each muffin liner, distributing evenly. Bake in the preheated oven for 10-12 minutes until set. Remove and allow to cool completely.
- Prepare Cheesecake Filling: Beat the softened cream cheese until smooth and creamy. Add sugar, egg, sour cream, and vanilla extract, mixing gently until all ingredients are fully incorporated.
- Assemble Cheesecakes: Spoon the cheesecake filling over each cooled brownie base, filling about three-quarters full to allow for rising during baking.
- Bake Cheesecakes: Return the muffin tin to the oven and bake for 15-18 minutes, until the cheesecake is set but still slightly jiggly in the center.
- Cool: Let cheesecakes cool in the turned-off oven for 1 hour to prevent cracking. Then transfer to room temperature on the countertop.
- Chill: Refrigerate the mini cheesecakes for at least 4 hours or overnight to fully set before serving.
Notes
- Substitute coconut oil for butter to make the brownie base dairy-free.
- Use brown sugar instead of granulated sugar in the brownie batter for a deeper flavor.
- Flax egg or silken tofu can be used as vegan alternatives for eggs in this recipe.
- Gluten-free flour blends can replace all-purpose flour to make the dessert gluten-free.
- Ensure cream cheese is softened to room temperature for a smooth cheesecake filling.
- Do not overbake the cheesecake topping to keep it creamy and prevent cracking.
- Chilling overnight enhances texture and flavor.
- Prep Time: 20 minutes
- Cook Time: 30 minutes
- Category: Dessert
- Method: Baking
- Cuisine: American
Keywords: brownie bottom mini cheesecakes, mini cheesecakes, brownie base cheesecake, dessert, individual cheesecakes, easy cheesecake recipe