Fail-Proof Instant Pot Yogurt Recipe (Thick & Creamy) Recipe
Introduction
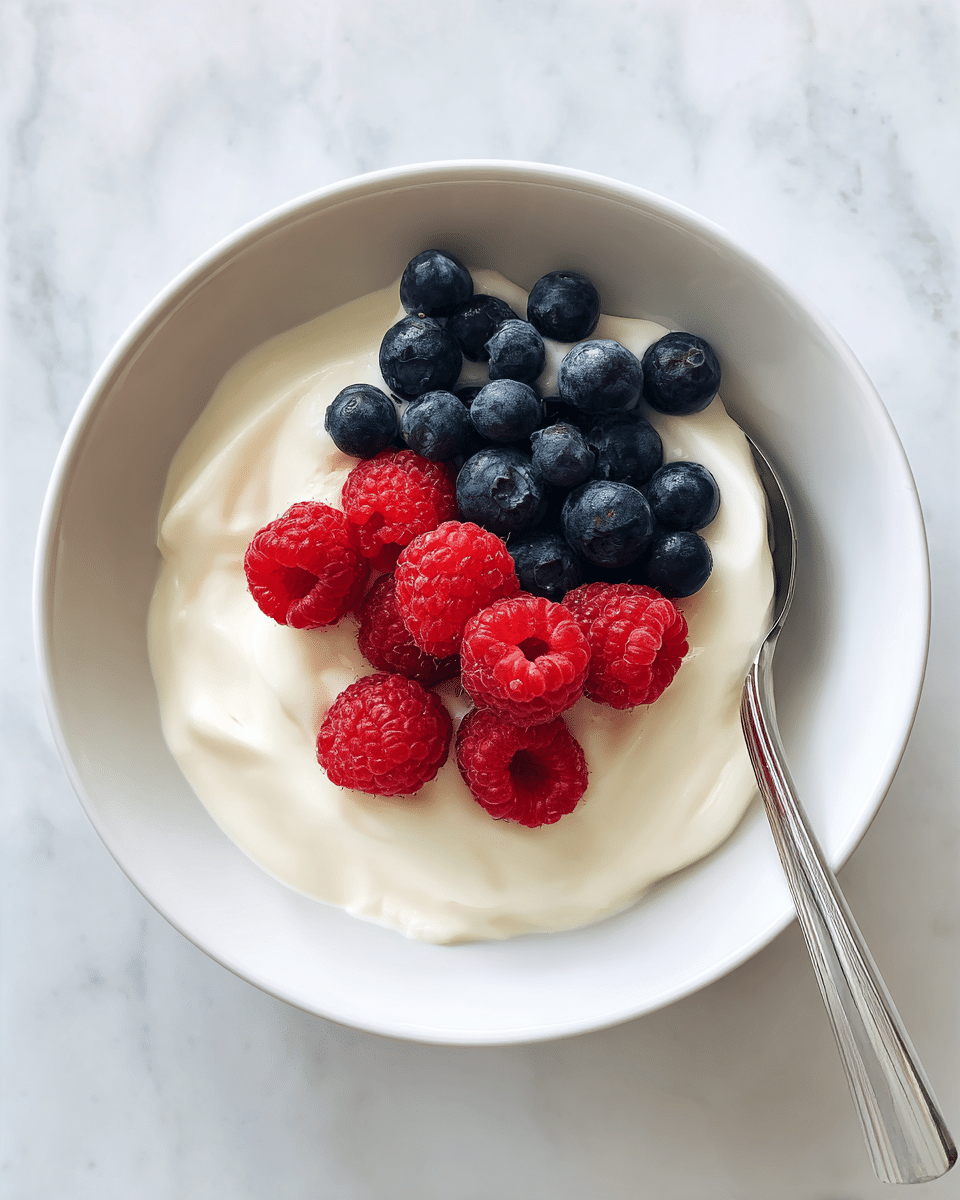
Making homemade yogurt has never been easier with this fail-proof Instant Pot recipe. It yields thick, creamy yogurt that’s perfect for breakfast, snacks, or cooking. With just a few simple ingredients and easy steps, you can enjoy fresh yogurt anytime.
Ingredients
- 1/2 gallon milk (whole or 2%)
- 2 tablespoons plain yogurt (with live active cultures)
- 1 tablespoon inulin powder (optional, but highly recommended for thickness)
Instructions
- Step 1: Pour the entire half gallon of milk into the Instant Pot’s inner pot. Secure the lid and press the YOGURT button until the display reads “boil.” The pot will beep when done. Use a thermometer to ensure the milk reaches 180°F, which helps create thicker yogurt.
- Step 2: Carefully remove the inner pot and let the milk cool to 110-115°F. This can take about an hour at room temperature or be sped up with an ice bath. Whisk occasionally for even cooling and skim off any skin that forms.
- Step 3: Scoop about one cup of the warm milk into a small bowl. Add the 2 tablespoons of yogurt starter and 1 tablespoon of inulin powder. Whisk until smooth and lump-free. Pour this mixture back into the main pot and whisk gently to combine.
- Step 4: Return the inner pot to the Instant Pot base. Press the YOGURT button and set the timer for 8 hours for mild tang, or up to 12 hours for tangier yogurt. Replace the lid (not sealed) and do not disturb the pot during incubation.
- Step 5: When incubation finishes, the Instant Pot will beep. The yogurt will be set but still delicate. Without stirring, cover and refrigerate the pot for at least 6 hours or overnight to fully firm up the yogurt.
- Step 6: After chilling, your yogurt is ready to enjoy. For Greek-style yogurt, strain it through cheesecloth in a fine-mesh strainer over a bowl in the fridge for 2 to 4 hours until thickened. Save the drained whey for other uses.
Tips & Variations
- Use whole milk for creamier yogurt or 2% milk for a lighter option.
- Inulin powder boosts thickness and adds a subtle sweetness but can be omitted if unavailable.
- Adjust incubation time to control tartness; longer fermentation means tangier yogurt.
- Save the whey drained from Greek yogurt for smoothies, baking, or as a protein-rich addition to recipes.
Storage
Store yogurt in an airtight container in the refrigerator for up to 1 to 2 weeks. Stir gently before serving if separated. Greek yogurt can be stored similarly but may last slightly longer due to lower moisture. Reheat gently if desired, but yogurt is best enjoyed cold.
How to Serve
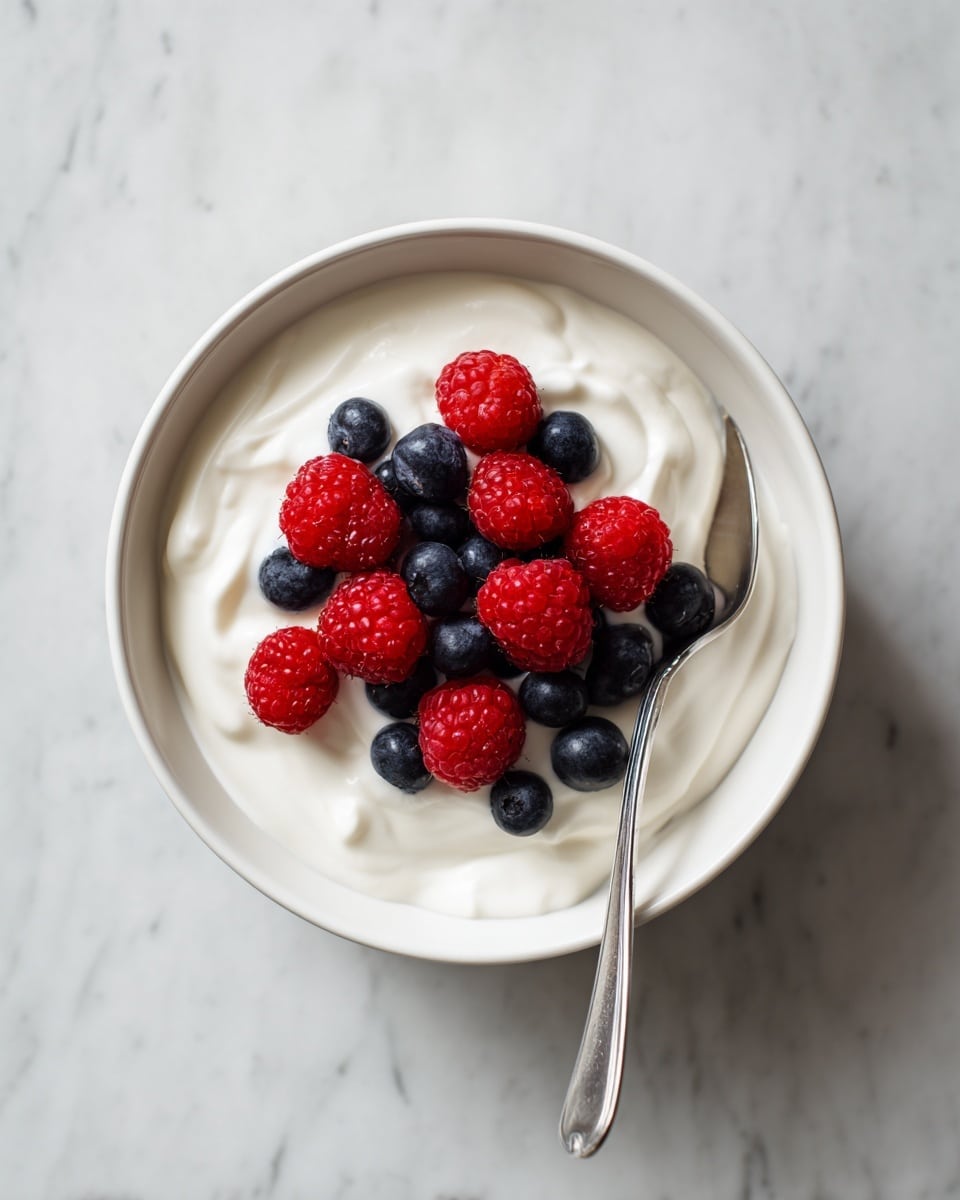
Serve this delicious recipe with your favorite sides.
FAQs
Can I use low-fat or skim milk?
Yes, but the yogurt will be thinner and less creamy. Whole or 2% milk produces the best texture.
Why is cooling the milk to 110-115°F important?
This temperature range is optimal for live cultures to ferment without being killed by heat. Too hot will damage the starter, too cold will slow fermentation.
Print
Fail-Proof Instant Pot Yogurt Recipe (Thick & Creamy) Recipe
- Total Time: 14 hours 10 minutes
- Yield: 10 servings 1x
- Diet: Vegetarian
Description
This fail-proof Instant Pot yogurt recipe yields thick, creamy homemade yogurt with minimal effort. Using the Instant Pot’s yogurt function ensures perfectly heated and incubated milk, resulting in rich, tangy yogurt that can be enjoyed plain or turned into Greek-style by straining. The addition of optional inulin powder enhances creaminess and thickness. Perfect for yogurt lovers seeking a simple, reliable method to create fresh, probiotic-rich yogurt at home.
Ingredients
Ingredients
- 1/2 gallon milk (whole or 2%)
- 2 tablespoons plain yogurt (with live active cultures)
- 1 tablespoon inulin powder (optional, enhances thickness)
Instructions
- Boil the Milk: Pour the half gallon of milk into the Instant Pot’s inner pot. Secure the lid and press the YOGURT button until the display reads “boil.” The Instant Pot will heat the milk to 180°F to denature whey proteins, essential for a thicker yogurt. Confirm temperature with a thermometer for best results.
- Cool the Milk: When the boil cycle finishes, carefully remove the inner pot and allow the milk to cool to 110-115°F. This critical step protects the live cultures from heat damage. Cool on the counter for about an hour or expedite with an ice bath, whisking occasionally for even cooling. Skim off any skin that forms.
- Inoculate with Starter: Scoop about 1 cup of the cooled milk into a bowl. Add 2 tablespoons of plain yogurt starter and 1 tablespoon of inulin powder if using. Whisk until smooth and lump-free. Pour this tempered starter mixture back into the main pot and whisk gently to combine evenly.
- Incubate: Place the inner pot back into the Instant Pot. Press the YOGURT button and set the timer for 8 hours for standard mild yogurt or up to 12 hours for a tangier flavor. Replace the lid but do not seal it. Leave the pot undisturbed during incubation to allow yogurt to set properly.
- Chill to Set: After incubation ends and the Instant Pot beeps, remove the lid. The yogurt will appear delicate and jelly-like. Do not stir. Transfer the inner pot to the refrigerator and chill covered for at least 6 hours or overnight to stop fermentation and achieve a firm texture.
- Final Steps & Greek Yogurt Option: After chilling, your homemade yogurt is ready to eat. For creamier consistency, whisk gently or leave as is. To make Greek yogurt, strain the chilled yogurt through a cheesecloth-lined fine mesh strainer over a bowl in the refrigerator for 2 to 4 hours until desired thickness is reached. Save the drained whey for other uses.
Notes
- Use a thermometer to ensure milk reaches exact temperatures for best yogurt texture.
- Do not disturb the yogurt during incubation to prevent graininess and uneven texture.
- Inulin powder is optional but recommended to improve creaminess and thickness.
- The incubation time can be adjusted for desired tartness; longer times yield tangier yogurt.
- Straining the yogurt produces thick Greek yogurt and whey, which can be used in smoothies or baking.
- Prep Time: 10 minutes
- Cook Time: 8 hours (incubation) + 6 hours chilling
- Category: Dairy
- Method: Instant Pot
- Cuisine: American
Keywords: Instant Pot yogurt, homemade yogurt, thick yogurt, creamy yogurt, Greek yogurt, probiotic yogurt, easy yogurt recipe