
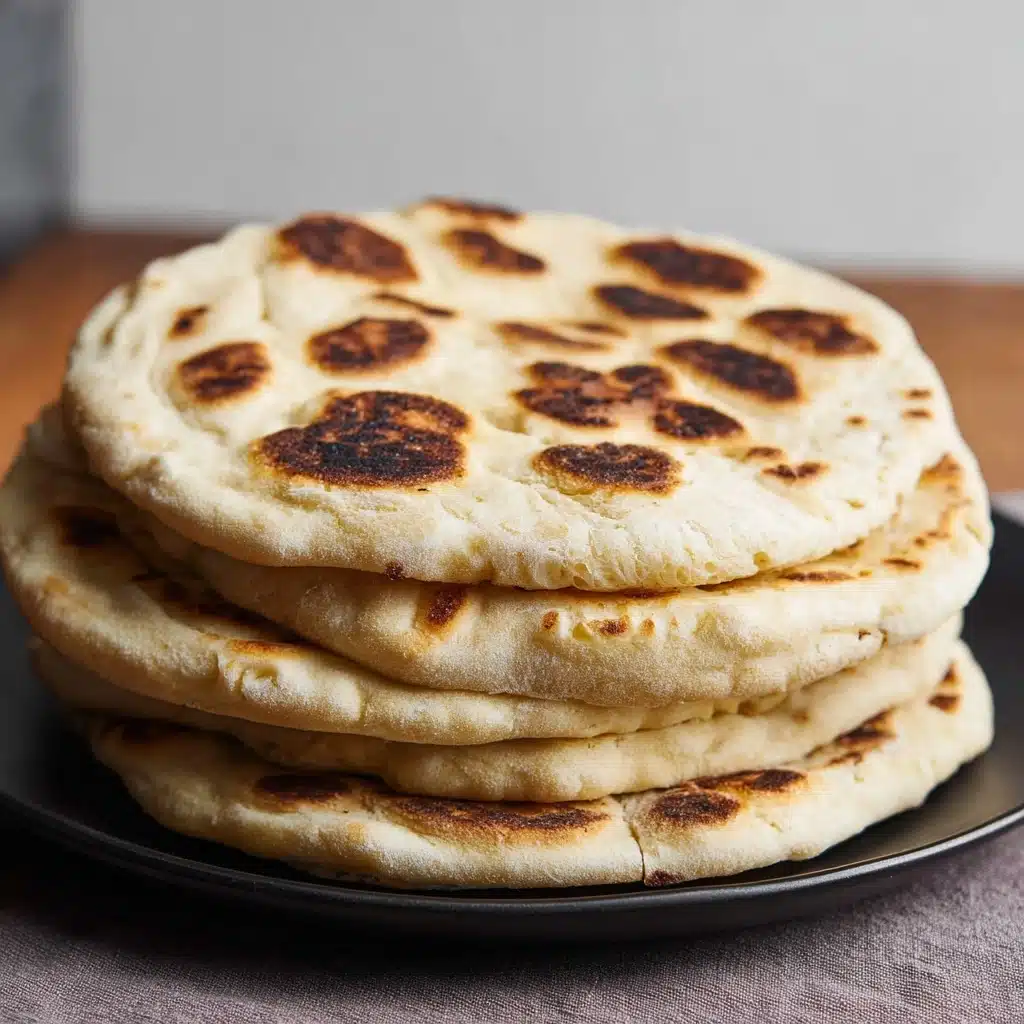
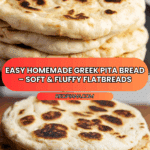
Pita Bread – Greek Flatbread Recipe
If you are searching for a homemade bread that is not only simple to make but also irresistibly delicious, you’re going to love this Pita Bread – Greek Flatbread Recipe. This recipe produces soft, pillowy flatbreads with just the right amount of chew, perfect for scooping up dips or wrapping around your favorite fillings. Infused with the tangy richness of Greek yogurt and the subtle aroma of olive oil, these pitas bring a little slice of the Mediterranean right into your kitchen. Whether you are a seasoned home baker or new to bread-making, this approachable Pita Bread – Greek Flatbread Recipe will quickly become a favorite to whip up again and again.
Ingredients You’ll Need
With just a handful of classic pantry items, this recipe keeps things wonderfully simple without compromising flavor or texture. Each ingredient plays its role in creating the tender, fluffy crumb and delightful flavor that makes these pitas so special.
- 230 grams (2 cups + 1 tablespoon) all-purpose flour: The foundation for the bread, giving structure while keeping it soft.
- 300 grams (1 cup + 1 tablespoon) Greek yogurt (strained, full fat): Adds tanginess and moisture, ensuring the pita stays tender inside.
- 3 tablespoons olive oil: Brings richness and a subtle fruity note classic to Greek baking.
- ⅔ teaspoon salt: Enhances all the flavors and balances the dough.
- 1 teaspoon baking soda: Works with the yogurt to help the dough rise lightly, creating pockets that lead to that perfect puff.
- 1½ teaspoons baking powder: Adds a gentle lift and softness to the bread.
How to Make Pita Bread – Greek Flatbread Recipe
Step 1: Mix the Wet Ingredients
Begin by combining the Greek yogurt, olive oil, salt, baking powder, and baking soda in a mixing bowl. Whisk everything together until smooth and evenly mixed; this blend of ingredients is what gives the dough a tender texture and subtle flavor with a slight tang.
Step 2: Incorporate the Flour
Next, add the flour to the wet mixture. Using a wooden spoon, stir and scrape the sides of the bowl until a sticky dough forms. The dough will look slightly wet, which is perfect – this moisture is key to achieving the softness inside your pita breads.
Step 3: Prepare Your Work Surface
Dust your hands and a clean working surface generously with flour to prevent sticking. Transfer the dough onto the surface and shape it into a long log. This makes it easier to divide evenly for the next step.
Step 4: Divide and Shape the Dough Balls
Cut the log into six equal pieces and shape each one into a ball. If the dough feels sticky, dust your hands and the dough lightly with more flour. This careful handling ensures the dough stays manageable without drying out.
Step 5: Flatten into Discs
One at a time, dust the surface and dough ball with flour and flatten each ball into a round disc approximately 14-15 cm in diameter. Use your hands rather than a rolling pin to gently stretch the dough, helping maintain the soft texture you want.
Step 6: Heat the Pan
Preheat a non-stick frying pan with a lid over medium-high heat until just before it starts to smoke. This hot surface will help the pitas puff up quickly, forming those signature pockets inside.
Step 7: Cook and Cover
Place a flatbread into the hot pan and immediately cover with the lid. Cook for 1 minute – the steam trapped inside is what causes the pita to puff up beautifully.
Step 8: Flip and Finish Cooking
Flip the flatbread, cover again, and cook for another minute. The even cooking on both sides gives the pita a lovely golden hue and a soft yet slightly chewy crust.
Step 9: Cool and Stack
Remove the pita from the pan and place it on a cooling rack. Once you’ve cooked all the flatbreads, stack them on a plate. Cover them with a clean cloth to keep them warm and soft until you’re ready to serve.
Step 10: Store with Care
If you’re not eating the pitas right away, wrap the stack tightly in plastic wrap and store them in the refrigerator to keep their freshness.
How to Serve Pita Bread – Greek Flatbread Recipe
Garnishes
This Pita Bread – Greek Flatbread Recipe is versatile and pairs beautifully with a variety of garnishes. Consider topping your pita with a sprinkle of fresh herbs like oregano or parsley for an aromatic touch, or brush with a little extra virgin olive oil and sea salt for a simple yet flavorful finish.
Side Dishes
Pitas shine when paired with classic Greek sides like Tzatziki, Melitzanosalata (eggplant dip), Tarama (fish roe dip), or Htipiti (spicy feta dip). Their soft texture makes them perfect for scooping up these flavorful dips, turning every bite into a joyful experience.
Creative Ways to Present
You can also roll these pitas into wraps with grilled meats, fresh veggies, and a drizzle of lemon juice or your favorite Mediterranean-inspired sauce. Serve alongside a Greek salad or a bowl of hearty soup for a complete meal that feels both fresh and comforting.
Make Ahead and Storage
Storing Leftovers
Leftover pitas stored in the refrigerator will stay fresh for up to 3 days when wrapped tightly in plastic wrap or sealed in an airtight container. This prevents them from drying out and keeps that soft texture intact.
Freezing
If you want to keep your Pita Bread – Greek Flatbread Recipe for longer, freezing is a fantastic option. Wrap each pita individually in plastic wrap and place them in a freezer-safe bag. Frozen pitas can last for up to 1 month without losing their delicious qualities.
Reheating
To reheat, simply warm the pita breads in a dry skillet over medium heat for about a minute on each side, or wrap them in foil and heat in a preheated oven at 180°C (350°F) for 5-7 minutes. This restores their soft texture with a slight crisp around the edges, just like freshly made.
FAQs
Can I use regular yogurt instead of Greek yogurt?
While regular yogurt can work, Greek yogurt is thicker and creamier, which helps give the pita its tender crumb and soft texture. If using regular yogurt, strain it beforehand to remove excess liquid.
Do I need a special pan for cooking these pita breads?
No special pan is required! A good-quality non-stick frying pan with a lid works perfectly. The lid traps steam, which helps the pita puff up beautifully, mimicking a traditional oven bake.
Why do some pitas puff up while others don’t?
Puffing happens because of the steam trapped inside the dough during cooking. Make sure your pan is very hot and you cover the pita immediately after placing it in the pan. Also, avoid rolling the dough too thin or too thick for the best puff.
Can I add herbs or spices to the dough?
Absolutely! Adding dried oregano, garlic powder, or even za’atar can infuse the pita with extra flavor. Mix the herbs or spices into the flour before combining with the wet ingredients for even distribution.
Is this pita recipe gluten-free?
This recipe uses all-purpose flour, so it is not gluten-free. However, experimenting with gluten-free flours combined with binding agents might yield interesting results if you need a gluten-free version.
Final Thoughts
There is something truly satisfying about making your own Pita Bread – Greek Flatbread Recipe from scratch. The simplicity of the ingredients, the hands-on process, and the delicious result create a wonderful sense of accomplishment and joy. Whether enjoyed with dips, stuffed into wraps, or simply savored warm on their own, these pitas bring a touch of Greece to your table that everyone will love. Give this recipe a try today and watch how it transforms your meals into something truly special.
Print
Pita Bread – Greek Flatbread Recipe
- Total Time: 25 minutes
- Yield: 6 pita flatbreads 1x
- Diet: Vegetarian
Description
This Greek Pita Bread recipe yields soft, fluffy, and slightly tangy flatbreads made with simple ingredients like Greek yogurt, flour, and olive oil. Perfect for serving with traditional Greek dips such as Tzatziki or using as wraps for gyros and other Mediterranean dishes. These easy-to-make flatbreads cook quickly on the stovetop and bring authentic homemade flavor to your table.
Ingredients
Dry Ingredients
- 230 grams (2 cups + 1 tablespoon) all-purpose flour, plus extra for dusting
- 1 teaspoon baking soda
- 1½ teaspoons baking powder
- ⅔ teaspoon salt
Wet Ingredients
- 300 grams (1 cup + 1 tablespoon) full-fat strained Greek yogurt
- 3 tablespoons olive oil
Instructions
- Combine wet ingredients: In a mixing bowl, whisk together the Greek yogurt, olive oil, salt, baking powder, and baking soda until well mixed.
- Add flour and form dough: Gradually add the flour to the wet mixture and stir with a wooden spoon, scraping the sides of the bowl, until a sticky dough forms.
- Prepare dough for shaping: Dust your hands and the dough lightly with flour. Transfer the dough onto a floured surface and shape it into a log.
- Divide and shape dough balls: Cut the dough log into six equal pieces. Shape each piece into a smooth ball, dusting with flour as needed to prevent sticking.
- Roll out flatbreads: On a floured surface, take one dough ball and flatten it with your hands into a round disk about 14-15 cm (5.5-6 inches) in diameter. Dust with flour as needed to prevent sticking.
- Preheat pan: Heat a non-stick frying pan with a lid over medium-high heat until it is almost smoking hot.
- Cook flatbreads first side: Place the rolled dough into the hot pan and immediately cover with the lid. Cook for 1 minute, allowing the bread to puff slightly.
- Cook flatbreads second side: Flip the flatbread, cover again, and cook for an additional 1 minute until golden spots appear and it’s cooked through.
- Cool the flatbreads: Transfer the cooked pita to a cooling rack to cool slightly while you cook the remaining pieces.
- Stack and store: Once all flatbreads are cooked, stack them on a plate, cover with plastic wrap, and store in the refrigerator for future use.
- Serve suggestions: Enjoy these pita breads with classic Greek dips like Tzatziki, Melitzanosalata, Tarama, or Htipiti, or use them as wraps for delicious Greek sandwiches and gyros.
Notes
- Dust your hands and work surface generously with flour to prevent the dough from sticking during shaping and rolling.
- The yogurt provides moisture and tanginess; Greek strained yogurt is essential for the right texture.
- Use a non-stick pan with a lid to ensure even cooking and proper puffing of the pita.
- The flatbreads are best enjoyed fresh but can be refrigerated covered for up to 3 days and gently reheated before serving.
- You can freeze cooked pita bread by separating them with parchment paper and freezing in an airtight container.
- Prep Time: 15 minutes
- Cook Time: 10 minutes
- Category: Bread
- Method: Stovetop cooking
- Cuisine: Greek
Nutrition
- Serving Size: 1 pita bread (approx. 60 grams)
- Calories: 145
- Sugar: 2 grams
- Sodium: 280 mg
- Fat: 5.5 grams
- Saturated Fat: 1 gram
- Unsaturated Fat: 4 grams
- Trans Fat: 0 grams
- Carbohydrates: 20 grams
- Fiber: 1.2 grams
- Protein: 5 grams
- Cholesterol: 5 mg
Keywords: Greek Pita Bread, Flatbread, Greek flatbread recipe, homemade pita, easy Greek bread, yogurt pita bread, stovetop flatbread


