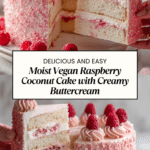
Vegan Raspberry Coconut Cake Recipe
Introduction
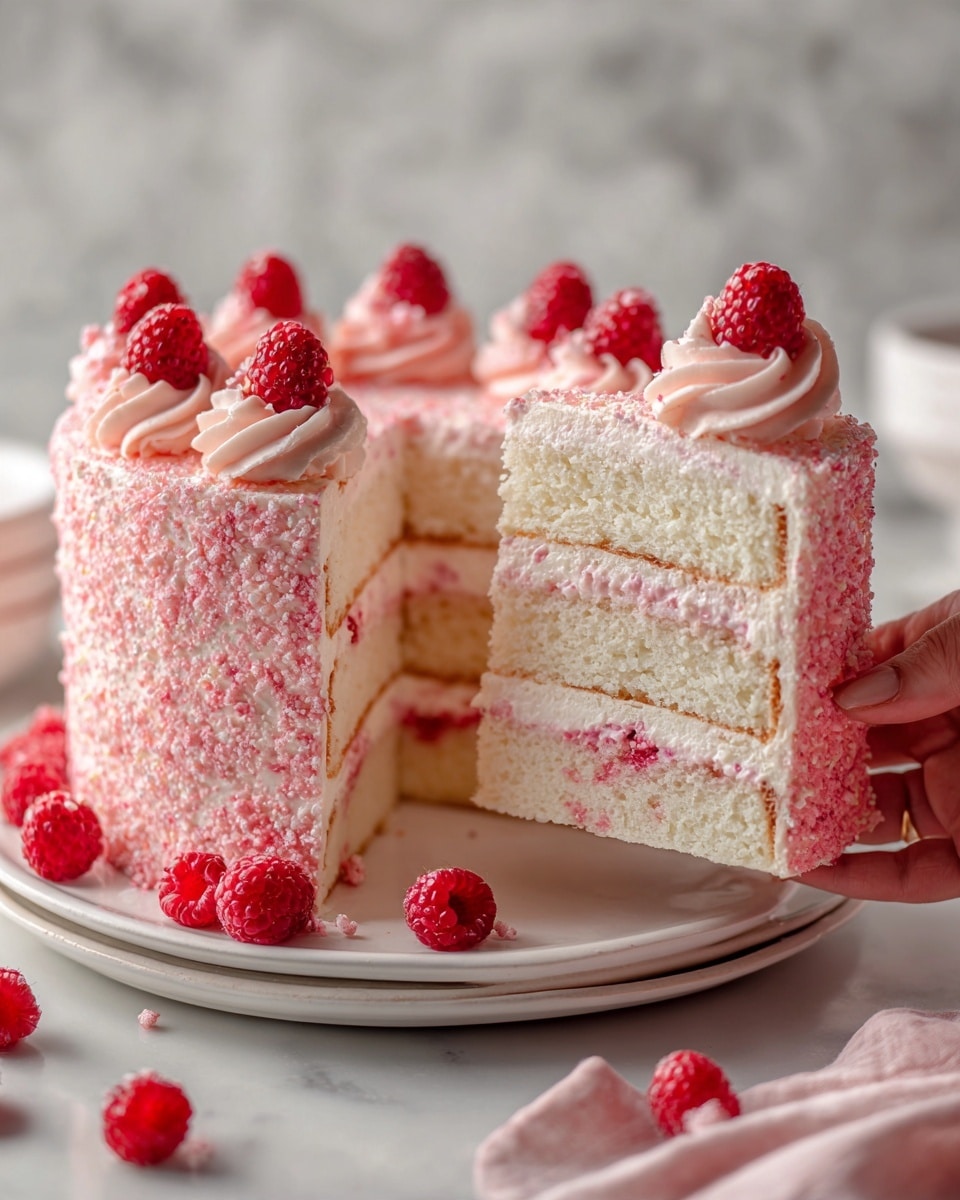
This Vegan Raspberry Coconut Cake is a delightful and moist treat perfect for any occasion. Bursting with natural raspberry flavor and a tropical hint of coconut, it’s completely plant-based and irresistibly fluffy. Whether you’re vegan or simply love fresh fruit cakes, this recipe will become a favorite.
Ingredients
- 480ml dairy-free milk (soya milk works best)
- 2 teaspoons apple cider vinegar
- 420g self-raising flour
- 300g caster sugar
- 1 teaspoon baking powder
- 1 teaspoon bicarbonate of soda
- 120ml sunflower oil
- 1 teaspoon vanilla extract
- 40g desiccated coconut
- 2 tablespoons freeze dried raspberries
- 300g dairy-free butter (block, softened)
- 500g powdered/icing sugar
- ½ teaspoon vanilla extract or vanilla bean paste
- 2 tablespoons freeze dried raspberry powder
- Pink food gel (optional)
- 1 jar raspberry jam
- 400g desiccated coconut (for decoration)
- Coconut flakes (for decoration)
- Fresh raspberries (for decoration)
Instructions
- Step 1: Preheat your oven to 180°C fan. Line three 8-inch loose base or push-up cake tins with greaseproof paper. If you have fewer tins, bake layers separately and cover unused batter with a damp tea towel.
- Step 2: Combine the dairy-free milk and apple cider vinegar in a bowl and whisk. Set aside for 10 minutes to curdle, creating vegan ‘buttermilk’.
- Step 3: In a large bowl, sift together the self-raising flour, caster sugar, baking powder, and bicarbonate of soda. Mix to combine.
- Step 4: Add sunflower oil and vanilla extract into the vegan buttermilk, then whisk together.
- Step 5: Pour the wet mixture into the dry ingredients and mix until just combined.
- Step 6: Fold in the desiccated coconut and freeze dried raspberries gently. Avoid over mixing to keep the cake light.
- Step 7: Divide the batter evenly between the prepared tins. Tap the tins on the countertop to release air bubbles.
- Step 8: Bake in the center of the oven for 25-30 minutes. Check doneness by inserting a skewer; it should come out clean and the cakes should spring back when touched.
- Step 9: Allow cakes to cool in the tins briefly before transferring to a wire rack to cool completely. Once cool, store in a sealed container until ready to frost.
- Step 10: To make the buttercream, whip the softened dairy-free butter in a large bowl until creamy using a mixer.
- Step 11: Sift in the icing sugar, vanilla, and raspberry powder. Whip on high speed for 5-8 minutes until smooth, creamy, and airy. Adjust thickness with more butter or icing sugar as needed.
- Step 12: Add a drop of pink food gel if desired for color and mix gently.
- Step 13: Place one cake layer on a serving plate. Spread or pipe a layer of raspberry buttercream evenly on top.
- Step 14: Pipe a swirl of raspberry jam in the center, then sprinkle with desiccated coconut.
- Step 15: Repeat layering with the second cake and frosting, jam, and coconut. Top with the third cake.
- Step 16: Apply a thin crumb coat of frosting over the entire cake. Smooth sides with a spatula or scraper.
- Step 17: Chill the cake in the fridge for 40 minutes to firm the frosting.
- Step 18: Apply a final thick coat of buttercream. While still soft, press desiccated coconut gently onto the sides and top.
- Step 19: When firm, pipe swirls of leftover buttercream around the top edge.
- Step 20: Decorate with fresh raspberries and coconut flakes.
- Step 21: Slice, serve, and enjoy your beautiful vegan raspberry coconut cake!
Tips & Variations
- Use soya milk for best results in making the vegan buttermilk substitute.
- Freeze dried raspberries add intense flavor; substitute with fresh raspberries if unavailable but fold in gently.
- For extra texture, add chopped nuts like pecans or almonds to the batter.
- Pink food gel is optional but gives the buttercream a vibrant color perfect for celebrations.
Storage
Store the finished cake covered in an airtight container in the refrigerator for up to 4 days. Allow the cake to come to room temperature before serving for the best flavor and texture. The cake also freezes well for up to 2 months; wrap tightly in plastic wrap and foil.
How to Serve
Serve this delicious recipe with your favorite sides.
FAQs
Can I use a different type of dairy-free milk?
Yes, you can substitute soya milk with almond, oat, or coconut milk, but soya milk works best to create a vegan ‘buttermilk’ effect that helps the cake rise nicely.
How do I know when the cake is fully baked?
Insert a clean knife or skewer into the center of the cake; if it comes out clean and the top springs back when lightly pressed, the cake is done. Avoid overbaking to keep it moist.
Print
Vegan Raspberry Coconut Cake Recipe
- Total Time: 4 hours (including cooling and chilling time)
- Yield: 8 servings 1x
- Diet: Vegan
Description
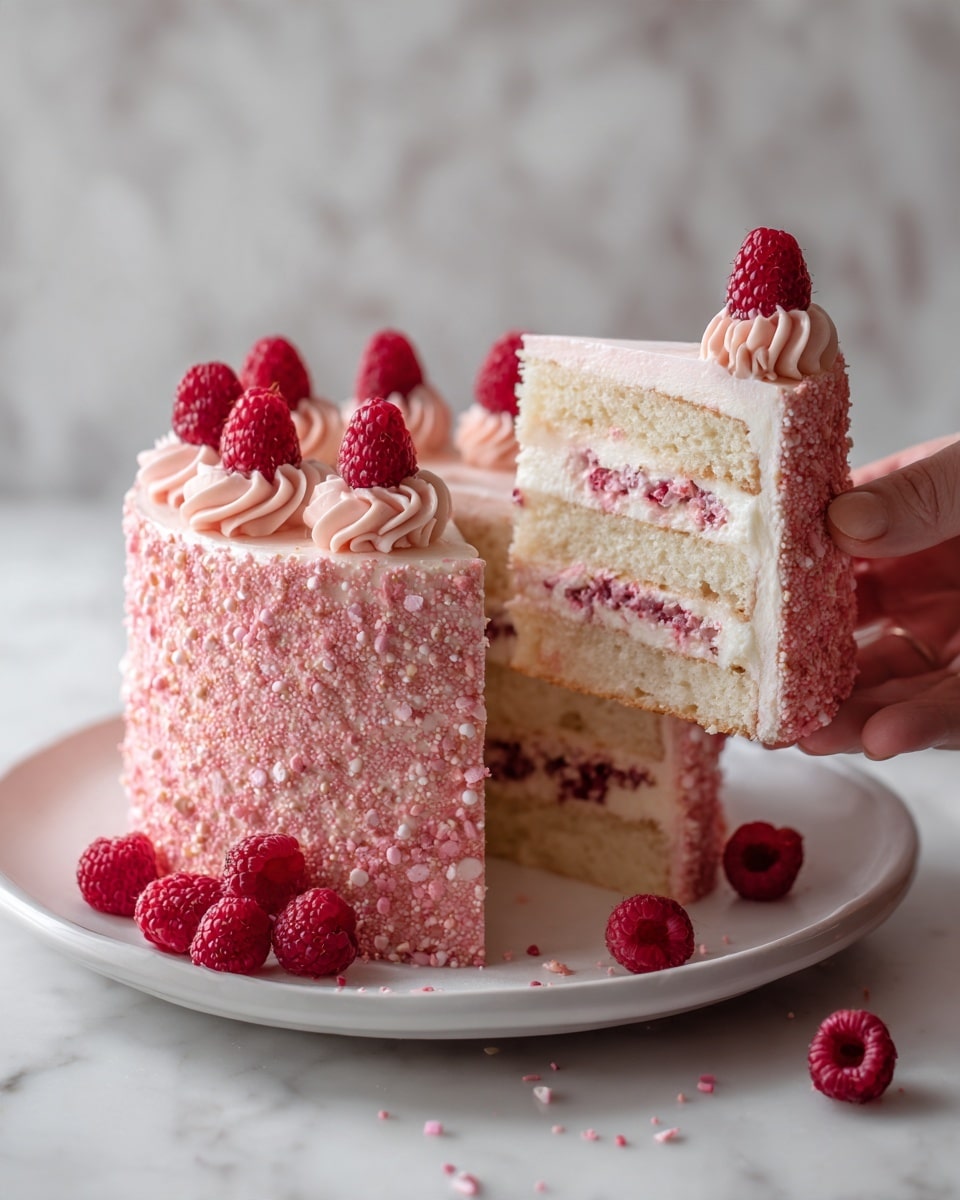
This Vegan Raspberry Coconut Cake is a delightful dairy-free dessert bursting with tropical coconut flavor and tangy raspberry accents. Moist, fluffy layers of coconut and freeze-dried raspberry studded cake are filled and frosted with a luscious vegan raspberry buttercream, layered with raspberry jam, and finished with a coating of desiccated coconut, fresh raspberries, and coconut flakes. An elegant and vibrant cake perfect for celebrations or any special occasion.
Ingredients
Cake Batter
- 480ml dairy-free milk (soya milk recommended)
- 2 teaspoons apple cider vinegar
- 420g self-raising flour
- 300g caster sugar
- 1 teaspoon baking powder
- 1 teaspoon bicarbonate of soda
- 120ml sunflower oil
- 1 teaspoon vanilla extract
- 40g desiccated coconut
- 2 tablespoons freeze-dried raspberries
Buttercream Frosting
- 300g dairy-free butter (block, softened)
- 500g powdered/icing sugar
- ½ teaspoon vanilla extract or vanilla bean paste
- 2 tablespoons freeze-dried raspberry powder
- Pink food gel (optional)
Decoration & Filling
- 1 jar raspberry jam
- 400g desiccated coconut
- Coconut flakes
- Fresh raspberries (for decoration)
Instructions
- Preheat and Prepare Cake Tins: Preheat your oven to 180°C fan (350°F). Line three 8-inch loose base or push-up cake tins with greaseproof paper. If you have fewer tins, bake cakes separately and keep covered with a damp tea towel to prevent drying out.
- Make Vegan ‘Buttermilk’: In a bowl, combine the dairy-free milk with apple cider vinegar and whisk thoroughly. Set aside for 10 minutes to curdle, creating a vegan buttermilk substitute.
- Combine Dry Ingredients: Sift self-raising flour, caster sugar, baking powder, and bicarbonate of soda into a large mixing bowl. Mix well to evenly distribute all powders.
- Mix Wet Ingredients: To the vegan buttermilk, add sunflower oil and vanilla extract. Whisk until fully combined.
- Combine Wet and Dry Mixtures: Pour the wet mixture into the bowl with dry ingredients and stir gently until just combined, ensuring the batter is smooth but not overmixed.
- Add Coconut and Raspberries: Fold in desiccated coconut and freeze-dried raspberries carefully, mixing until evenly incorporated without overmixing to avoid a dense cake texture.
- Divide Batter and Bake: Pour the batter evenly into the prepared cake tins. Tap the tins gently on the work surface to release air bubbles. Place the tins in the center of the preheated oven and bake for 25-30 minutes. Test doneness by inserting a skewer or knife into the center; it should come out clean and the cakes should feel springy.
- Cool Cakes: Remove cakes from oven, allow them to cool in tins slightly, then transfer to a wire rack to cool completely. Once cool, store covered until ready to frost.
- Prepare Vegan Raspberry Buttercream: In a large mixing bowl, whip the softened dairy-free butter using a stand or hand mixer with a balloon whisk until creamy. Gradually sift in the icing sugar, vanilla, and raspberry powder, whipping at high speed for 5-8 minutes until smooth, airy, and creamy. Adjust consistency by adding more butter if too thick or more icing sugar if too soft.
- Add Optional Color: If desired, incorporate a small drop of pink food gel to achieve a vibrant pink buttercream color and mix thoroughly.
- Assemble First Layer: Place one cake layer on a serving plate or cake stand. Pipe or dollop an even layer of the pink buttercream over the top, smoothing it with an off-set spatula or palette knife.
- Add Jam and Coconut: Using a piping bag, pipe a swirl of raspberry jam in the center of the buttercream layer. Sprinkle over some desiccated coconut evenly on top.
- Add Second Layer: Place the second cake layer on top of the first. Repeat spreading buttercream, piping jam, and sprinkling coconut. Place the third cake layer on top.
- Crumb Coat: Apply a thin layer of buttercream all over the assembled cake to lock in crumbs. Smooth the sides and top with a cake scraper or palette knife to prepare for the final frosting layer.
- Chill Cake: Refrigerate the crumb-coated cake for 40 minutes to set the frosting firmly, making final decoration easier and tidier.
- Final Frosting Layer: Once chilled and firm, apply the final smooth coat of buttercream over the cake’s surface.
- Decorate with Coconut: While the buttercream is still soft, evenly press desiccated coconut all over the sides and top using your hands, gently pressing to adhere.
- Pipe Buttercream Swirls: Remove the cake from fridge once firm. Fill a piping bag fitted with a star tip nozzle with leftover buttercream and pipe decorative swirls around the cake’s top edge.
- Add Final Decorations: Garnish with fresh raspberries and coconut flakes for a beautiful, natural finish.
- Serve: Slice, serve, and enjoy your vibrant and flavorful vegan raspberry coconut cake.
Notes
- Freeze-dried raspberries and raspberry powder add intense raspberry flavor without extra moisture.
- Use dairy-free milk such as soya milk for best results in vegan buttermilk.
- Do not overmix batter to keep cake light and fluffy.
- If you don’t have three cake tins, bake layers separately and keep batter covered to prevent drying.
- The crumb coat step is important for a neat final finish.
- Adjust buttercream consistency by adding butter or sugar as needed for smooth, pipeable frosting.
- Pink food gel is optional but enhances the visual appeal of the buttercream.
- Store cake in an airtight container to keep fresh; best enjoyed within 2-3 days.
- Prep Time: 45 minutes
- Cook Time: 30 minutes
- Category: Cake
- Method: Baking
- Cuisine: Vegan
Keywords: vegan cake, raspberry cake, coconut cake, dairy-free dessert, vegan dessert, raspberry buttercream, coconut flakes, plant-based cake