
Easy Sourdough Starter Recipe
If you’ve ever fantasized about baking fresh, artisan loaves in your own kitchen, this Easy Sourdough Starter is where the adventure begins! With just a couple of kitchen staples, you can create a bubbly, tangy, naturally-leavened base that transforms humble flour and water into the foundation for unforgettable sourdough bread. There’s something magical about watching your own sourdough starter come to life day by day, and it’s both easier and more rewarding than you might imagine. Trust me, once you taste bread made from your homemade Easy Sourdough Starter, you’ll never want to go back.
Ingredients You’ll Need
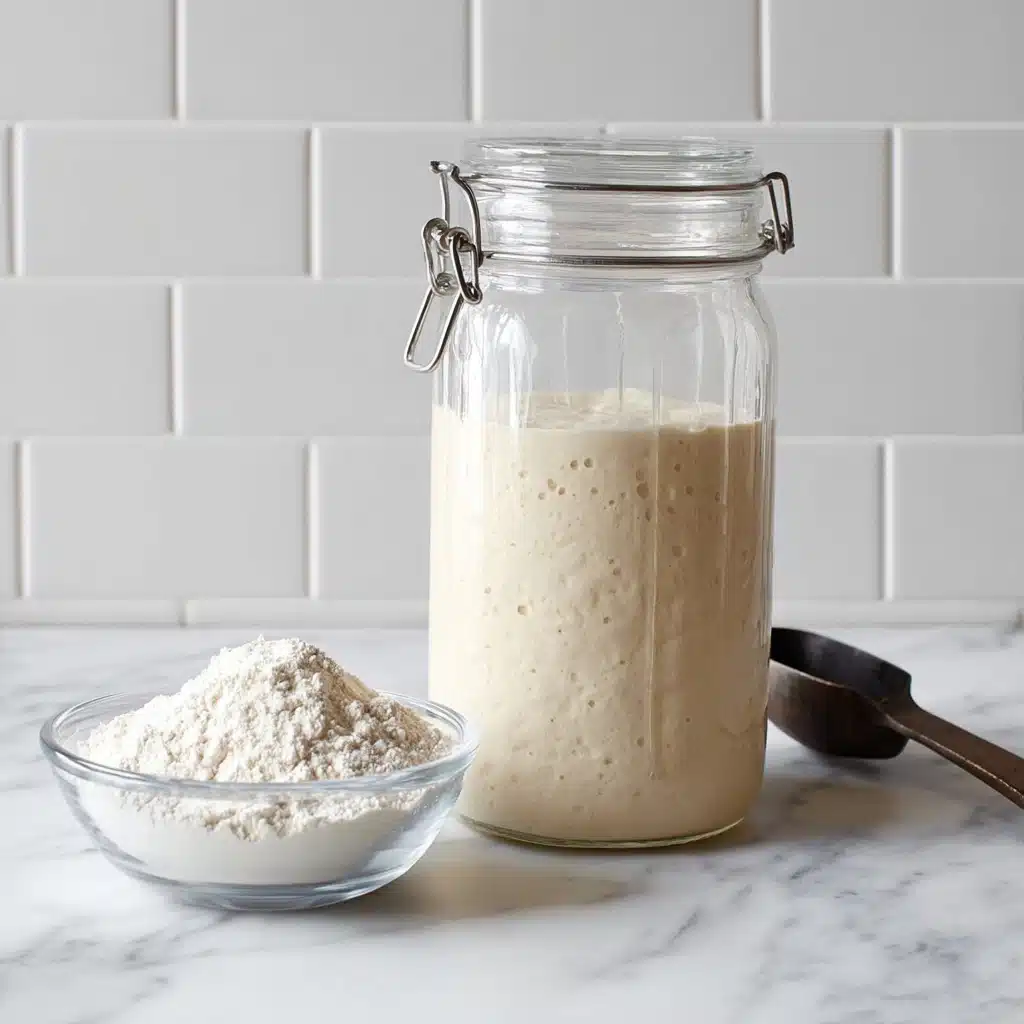
I love how this Easy Sourdough Starter relies on just two simple ingredients, making it the perfect way to capture the pure, tangy essence of sourdough. Each contributes something essential — the flour provides the food for natural yeast, while water hydrates and activates the wild fermentation that bubbles up in your kitchen.
- White All-Purpose Flour (700 grams): Stick with a high-quality, trusted brand of flour for beautiful fermentation and a wonderfully complex flavor in your starter.
- Filtered Water (700 grams): Using filtered water is key here, since chlorine and other chemicals can inhibit the natural yeasts that make your Easy Sourdough Starter thrive.
How to Make Easy Sourdough Starter
Step 1: Mix the Base (Day 1)
Start by stirring together 50 grams of white all-purpose flour and 50 grams of filtered water in a medium glass bowl. Use a kitchen scale for best results, zeroing the scale before adding each ingredient. This initial mix forms the foundation where wild yeasts and good bacteria will begin to work their magic. Cover the bowl (but don’t seal it airtight — a plate or clean towel works beautifully) and let it sit at room temperature for 24 hours.
Step 2: Feed Your Starter (Day 2)
On the second day, you’ll repeat the process: add another 50 grams of flour and 50 grams of water to your bowl. Stir everything together thoroughly so the new flour and water are well incorporated. Cover again and let sit, cheerfully awaiting signs of life — tiny bubbles, a slight rise, or a delicate tangy scent may show up soon!
Step 3: Discard and Refresh (Day 3)
Here’s when your Easy Sourdough Starter really gets rolling. Pour out (or scoop away) about half of the starter and discard it. To what’s left, add 100 grams each of flour and water. This step helps the natural yeasts multiply and flourish, and keeps your starter from growing out of control. Stir well, cover, and let sit at room temperature.
Step 4: Bubbles and Aroma (Day 4)
On the fourth day, again remove and discard half the starter. Add 150 grams of flour and 150 grams of water, giving it a generous stir. At this point, you’ll notice small bubbles and a slightly sour aroma. This is the sign that your wild yeast and friendly bacteria are waking up and getting down to business!
Step 5: Building Strength (Day 5)
Discard half the starter again, then feed with another 150 grams of flour and 150 grams of water. Mix well until smooth. You’ll see more bubbles and the texture may become looser and frothier, like pancake batter. If you haven’t already, you can transfer your evolving Easy Sourdough Starter into a clean glass jar for easier storing and monitoring from this point forward.
Step 6: The Final Feed (Day 6)
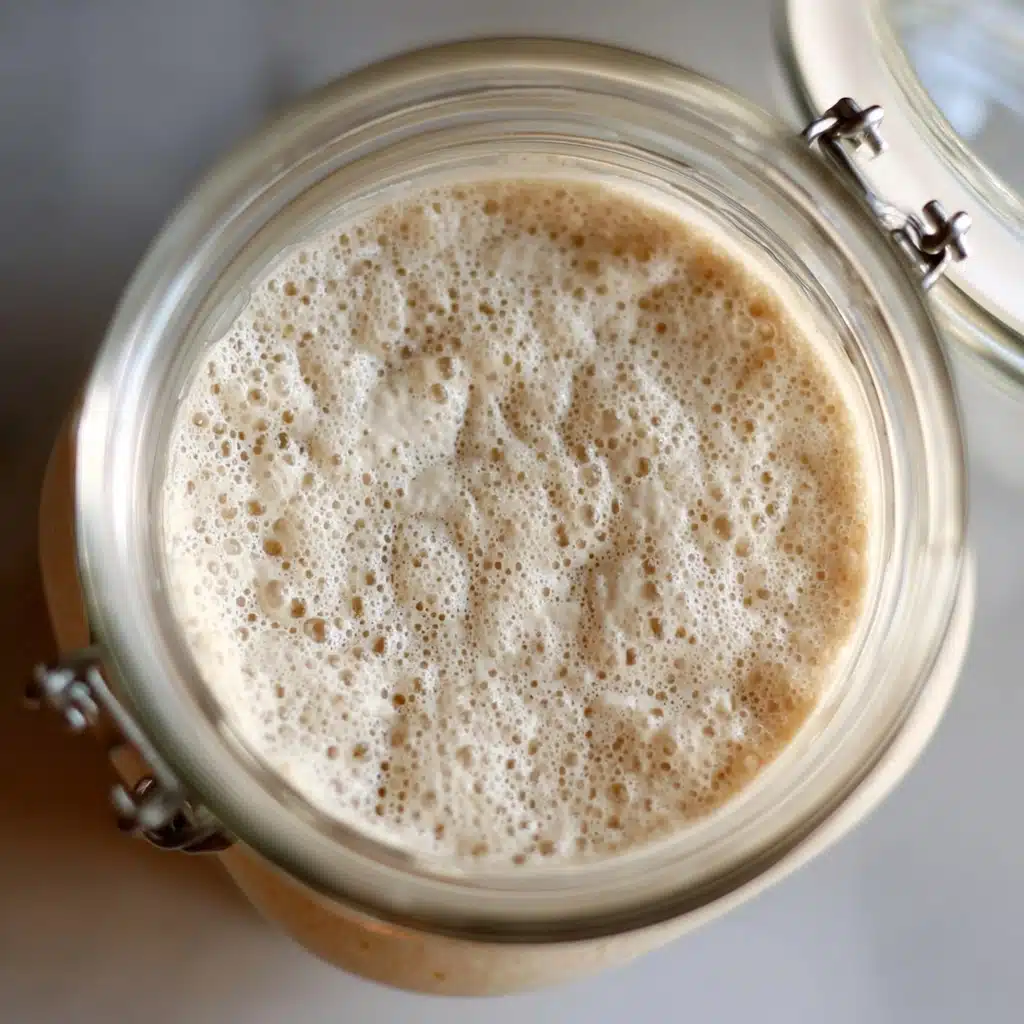
Once more, discard half and feed your starter, this time with 200 grams each of flour and water. Mix thoroughly. By this stage, your starter should look noticeably bubbly — and may even double in size after each feed if your kitchen is warm. The aroma will be more tangy and complex.
Step 7: Ready or Not? (Day 7)
Check your Easy Sourdough Starter: it should show plenty of bubbles and a pleasant, slightly sour scent. If your starter is super active, holds its rise, and looks lively — congratulations, it’s ready to use! If it’s a little sluggish, give it one more day at room temperature before baking your first loaf.
How to Serve Easy Sourdough Starter
Garnishes
While the starter itself isn’t served directly, when you bake with the Easy Sourdough Starter, make your breads sing by topping them before baking with a sprinkle of flaky sea salt, sesame seeds, or poppy seeds. Fresh herbs like rosemary or thyme pressed into the dough also add a stunning touch both visually and flavor-wise.
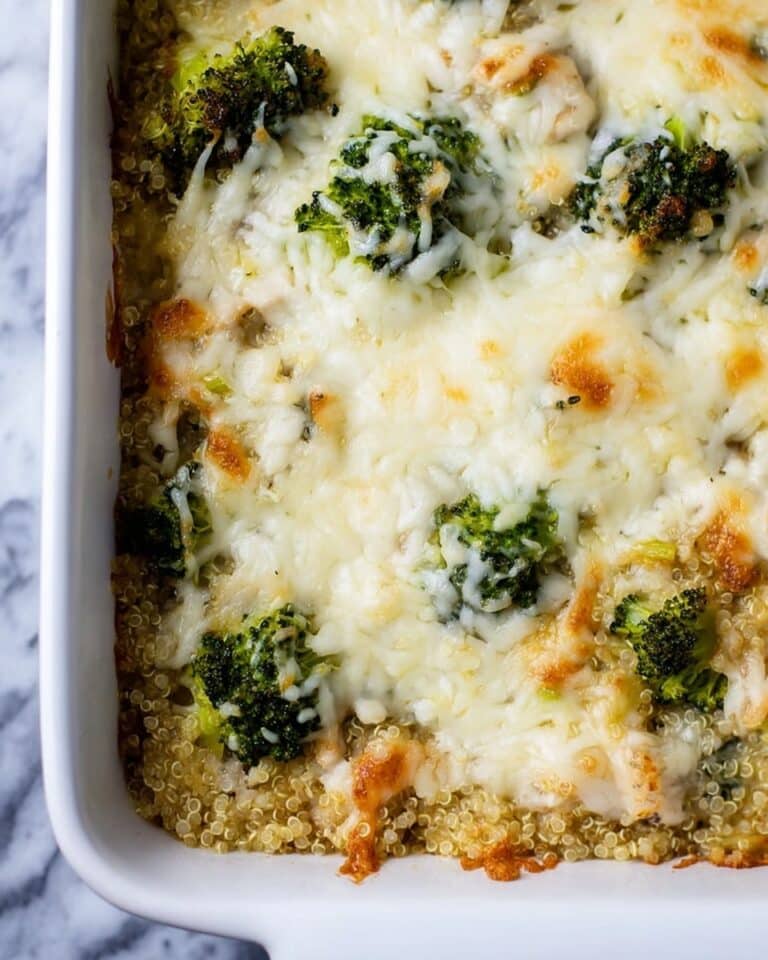
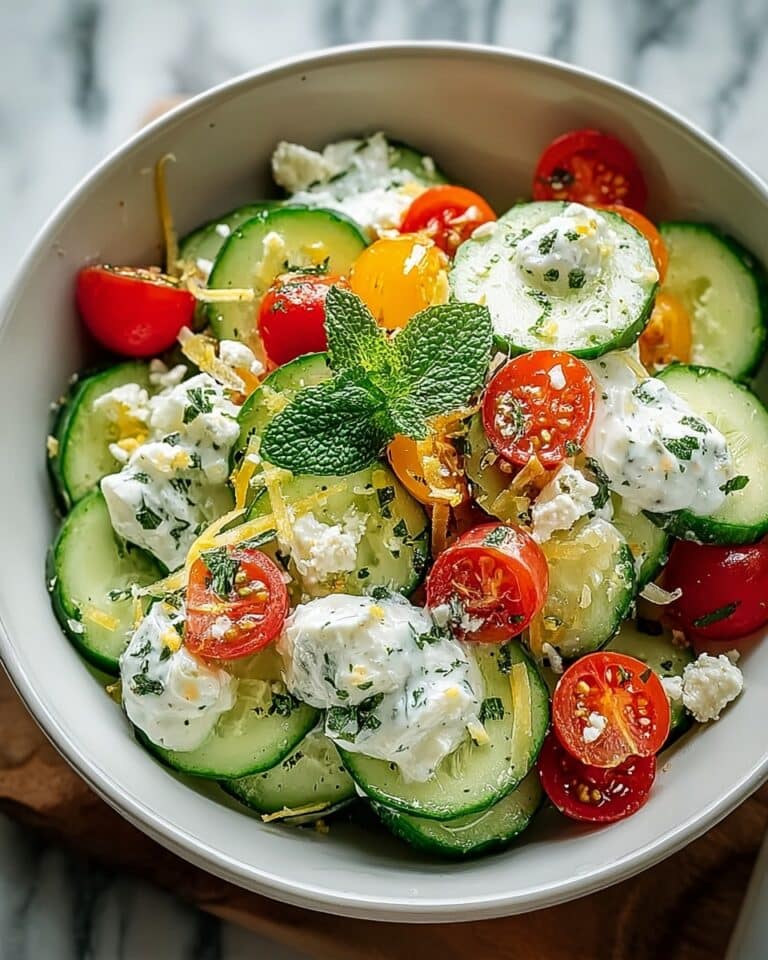
Side Dishes
There’s nothing quite like warm sourdough bread fresh from the oven. Serve slices alongside creamy salted butter, tangy goat cheese, or a generous pour of extra-virgin olive oil with cracked pepper. Pairing your sourdough with hearty soups, crisp salads, or a classic cheese and charcuterie board turns every meal into a treat.
Creative Ways to Present
The beauty of a homegrown starter is versatility! Use your Easy Sourdough Starter for thick, chewy pizza crusts, pillowy focaccia, rustic sandwich loaves, or even fluffy pancakes and waffles. Try dividing dough into mini rolls for sliders, or shaping it into knots, swirls, or decorative braids to impress your guests.
Make Ahead and Storage
Storing Leftovers
Once your Easy Sourdough Starter is mature, you can keep it happy in the fridge in a glass jar with a loose lid. Simply feed it once a week with equal weights of flour and water, and it will remain ready to use for months. Don’t forget to let it come back to room temperature and give it a good feed before baking!
Freezing
Need a longer break from baking? You can freeze your Easy Sourdough Starter by spreading a thin layer on parchment and freezing it solid, or portioning into small containers. Thaw and resume regular feedings when you’re ready to bake again, and watch as it springs right back to life.
Reheating
While you don’t actually reheat the Easy Sourdough Starter itself, most leftover sourdough baked goods reheat beautifully. Toast slices or rolls in a moderate oven, or warm gently in a skillet to revive the crusty exterior and tender crumb. Always store baked treats in a bread bag or airtight container for maximum freshness.
FAQs
Why do I have to throw away half the Easy Sourdough Starter each day?
Discarding half keeps the starter from growing too large and controls acidity and population of microbes. It helps refresh the mixture so the wild yeast flourishes and doesn’t get overwhelmed.
Can I use whole wheat or rye flour instead of all-purpose?
Absolutely! Using whole wheat or rye flour for part or all of the feeds can actually speed up fermentation and add extra nuance. Just be aware they may create a denser starter and alter the final bread’s flavor.
How do I know if my Easy Sourdough Starter is ready to bake with?
Your starter is ready when it’s bubbly throughout, has a pleasant sour aroma, and doubles in size several hours after a feeding. If unsure, do the “float test” by dropping a spoonful in water — if it floats, it’s good to go!
My starter is sluggish or smells strange. What should I do?
Don’t worry — starters are surprisingly resilient! If it smells off (not pleasantly sour), or isn’t bubbling, try leaving it somewhere warmer and increase the frequency of feedings. Gray liquid on top (hooch) just means it’s hungry; pour it off and feed your starter.
Is Easy Sourdough Starter gluten-free?
This recipe uses wheat flour, so it’s not gluten-free. However, you can experiment with certified gluten-free flours and adapt the method, though results may vary.
Final Thoughts
There’s nothing more satisfying than nurturing your own Easy Sourdough Starter and using it to bake bread that’s uniquely yours. Every starter has its own delicious personality, and the process is easier and more magical than most people imagine. Give this a try and join the time-honored tradition of real sourdough baking right at home!
Print
Easy Sourdough Starter Recipe
- Total Time: 7 days
- Yield: 1 sourdough starter 1x
- Diet: Vegetarian
Description
Learn how to make your own easy sourdough starter at home with simple ingredients and a week-long process. This sourdough starter will be the perfect base for all your sourdough bread recipes.
Ingredients
Day 1:
- 50 grams water
- 50 grams white all-purpose flour
Day 2:
- 50 grams water
- 50 grams white all-purpose flour
Day 3:
- 100 grams water
- 100 grams white all-purpose flour
Day 4:
- 150 grams water
- 150 grams white all-purpose flour
Day 5:
- 150 grams water
- 150 grams white all-purpose flour
Day 6:
- 200 grams water
- 200 grams white all-purpose flour
Day 7:
- Starter from previous day
- 200 grams water
- 200 grams white all-purpose flour
Instructions
- Day 1: Mix 50g water and 50g flour in a glass bowl. Cover and let sit.
- Day 2: Add 50g water and 50g flour to the mixture. Cover and let sit.
- Day 3: Discard half of the starter. Add 100g water and 100g flour. Cover and let sit.
- Day 4: Discard half of the starter. Add 150g water and 150g flour. Cover and let sit.
- Day 5: Discard half of the starter. Add 150g water and 150g flour. Cover and let sit.
- Day 6: Discard half of the starter. Add 200g water and 200g flour. Cover and let sit.
- Day 7: Check the starter’s appearance. If ready, use; if not, wait another day.
Notes
- Use fresh, high-quality flour for the best results.
- Weigh flour and water accurately in grams.
- Equal parts of flour and water are added throughout the process.
- Discard starter from day 3-7 as it is not developed enough.
- Day 4 onwards, expect bubbles and a sour smell.
- Transfer to a glass jar by day 5 if desired.
- By day 6, the starter should resemble a matured sourdough starter.
- Prep Time: 15 minutes
- Cook Time: 0 minutes
- Category: Bread
- Method: Mixing
- Cuisine: American
Nutrition
- Serving Size: 1 serving
- Calories: 100
- Sugar: 0g
- Sodium: 5mg
- Fat: 0g
- Saturated Fat: 0g
- Unsaturated Fat: 0g
- Trans Fat: 0g
- Carbohydrates: 22g
- Fiber: 1g
- Protein: 3g
- Cholesterol: 0mg
Keywords: sourdough starter, homemade, bread, fermentation


